Learn how to publish PowerPoint presentations to any TV in just a few steps. Discover simple tools and workflows that turn your slides into dynamic, professional digital signage—perfect for offices, retail, events, and more.
Introduction
This guide is for office managers, retailers, event organizers, and anyone who needs to display PowerPoint presentations on a TV. Whether you’re looking to showcase a new promotional campaign, update a menu, or broadcast a welcome message, getting your PowerPoint slides from your computer onto a large TV screen can be a challenge.
We cover both quick, manual methods and scalable, automated solutions. You’ll learn about everything from simple HDMI connections and wireless casting to advanced cloud-based digital signage platforms. No matter your technical skill level or the size of your organization, you’ll find a method that fits your needs.
Main Methods for Displaying PowerPoint on TV
Before diving into the details, here’s a quick overview of the main ways you can display PowerPoint presentations on a TV. Each method has its own advantages, limitations, and best use cases.
Common Methods:
- HDMI or VGA Cable: Connect your laptop or mobile device directly to the TV for high-quality playback. Most laptops and TVs support HDMI; use a USB-C or DisplayPort adapter if needed.
- Wireless Casting: Use Miracast, AirPlay, or Chromecast to cast your presentation wirelessly. Requires a compatible TV or streaming device (e.g., Roku, Apple TV, Google Chromecast).
- USB Drive: Export your PowerPoint as images or video (MP4), then play them on the TV via USB. Many TVs support JPEG images and MP4 video formats.
- Video Conversion: Convert your PowerPoint to MP4 or DVD video format for playback on TVs or DVD players.
- Digital Signage Platforms: Use cloud-based solutions to upload, schedule, and manage presentations remotely. Ideal for managing multiple screens or locations.
- Built-in Apps: Some smart TVs (e.g., Samsung with Office 365) allow direct access to PowerPoint files from the cloud.
Comparison Table: Methods for Displaying PowerPoint on TV
| Method | Pros | Cons | Best Use Cases |
|---|---|---|---|
| HDMI/VGA Cable | High quality, simple setup, real-time control | Requires cable, device must stay connected | Meetings, quick presentations, single screens |
| Wireless Casting | No cables, flexible, supports multiple devices | Needs compatible TV/device, possible lag | Modern offices, events, BYOD environments |
| USB Drive | No need for computer, easy to update files | Limited to static images/video, manual updates | Simple signage, rotating slideshows |
| Video Conversion | Plays on most TVs, no computer needed | No interactivity, must re-export for changes | Looping videos, kiosks, non-interactive displays |
| Digital Signage | Central control, scheduling, scalable, remote | Requires setup, may have subscription cost | Multi-location, automated, professional signage |
| Built-in Apps | Direct cloud access, no extra hardware | Limited to certain TV models, feature limitations | Offices with compatible smart TVs |
Quick Definitions: Main Methods for Displaying PowerPoint on TV
- HDMI/VGA Cable: Connect your laptop or mobile device directly to the TV using an HDMI or VGA cable. For laptops without HDMI, use a USB-C or DisplayPort adapter. Set your display to “Duplicate” or “Extend” for best results.
- Wireless Casting: Use Miracast, AirPlay, or Chromecast to cast your presentation wirelessly. Requires both your device and TV (or streaming device) to be on the same Wi-Fi network.
- USB Drive: Export your PowerPoint as MP4 video or JPEG images, then play them on your TV using the built-in media player via USB.
- Video Conversion: Convert your PowerPoint to a video format (like MP4) or DVD video for playback on TVs or DVD players.
- Digital Signage Platforms: Upload and manage your presentations remotely using cloud-based software. Schedule content, manage multiple screens, and automate updates.
- Built-in Apps: Some smart TVs (e.g., Samsung) have Office 365 or similar apps that allow you to open PowerPoint files directly from the cloud.
Introduction to Displaying PowerPoint
Displaying a PowerPoint presentation on a TV screen is one of the most effective ways to engage a larger audience, whether you’re sharing training materials in a conference room, showcasing a menu in a restaurant, or broadcasting announcements in a lobby. Thanks to modern technology, connecting your device to a TV and displaying your PowerPoint presentation has never been easier. You can use a smart TV, Apple TV, or a traditional TV with an HDMI cable to bring your slides to life on a big screen. There are several methods available, including direct connections with an HDMI cable, wireless casting for cable-free convenience, and PowerPoint digital signage solutions for automated, professional displays. In this section, we’ll explore the different ways you can display a PowerPoint presentation on a TV screen, helping you choose the best approach for your needs—whether you want a quick plug-and-play setup or a scalable digital signage network.
Why the Old Methods Fail
Before embracing the new way, it’s important to understand why traditional methods are so inefficient for professional use.
Dedicated Laptops
- Security Risk: Connecting a computer directly to a TV is a security risk and a logistical nightmare.
- Constant Maintenance: The computer must be constantly running, is prone to distracting system updates and notifications, and is an easy target for tampering.
USB “Sneaker-net”
- Manual Process: Manually loading files onto a USB stick and physically plugging it into each TV is the most common but most flawed method.
- Time-Consuming: It’s time-consuming, impossible to scale across multiple locations, and leads to forgotten updates.
- Professionalism: A screen showing an expired promotion looks unprofessional and damages credibility.
Exporting to Video
- Inflexibility: Many users try to convert their PowerPoint files to video or DVD formats, such as MP4 or DVD video, to play on TVs or DVD players. While converting presentations can seem convenient, it’s inflexible.
- Update Hassle: If you spot a typo or need to change a price, you must edit the source file, re-export the entire video (which can be slow), and then manually transfer the new file to the screen.
- Lost Features: All your slick PowerPoint animations and transitions can also be lost or distorted in the conversion process.
Some users attempt to burn their presentations onto a DVD using tools like Windows DVD Maker, which requires you to insert the DVD into the player each time you want to display the content. This process is cumbersome and not suitable for dynamic or frequently updated signage.
These methods lack the central control, automation, and reliability required for a professional digital signage setup.
Connecting Your Device to the TV
To get your PowerPoint presentation onto a TV screen, you’ll first need to connect your device to the TV. The most straightforward method is using an HDMI cable: simply plug one end of the HDMI cable into your laptop or PC’s HDMI port and the other end into the TV’s HDMI port. Once connected, select the correct HDMI input on your TV to display your device’s screen, and you’re ready to present.
If your TV or media player supports it, you can also use a USB storage device—just save your PowerPoint presentation to the USB drive, plug it into the TV or media player, and play the file directly.
For a wireless experience, devices like a Chromecast stick or Apple TV allow you to cast your PowerPoint presentation from your computer or mobile device to the TV screen, eliminating the need for cables. Each of these methods makes it easy to connect, display, and play your presentation on the big screen, whether you’re using a wired or wireless setup.
Wireless Casting Options
Wireless casting offers a flexible and clutter-free way to play your PowerPoint presentation on a TV screen. To get started, make sure both your device and your TV are connected to the same Wi-Fi network.
- Android Devices: The Google Home app lets you cast your PowerPoint presentation to any Chromecast-enabled TV with just a few taps.
- Apple Devices: AirPlay makes it simple to cast your presentation to an Apple TV or a compatible smart TV—just select your TV from the AirPlay menu and your slides will appear on the big screen.
- Screen Mirroring: Many smart TVs also support screen mirroring, allowing you to mirror your device’s display directly onto the TV.
For organizations managing multiple screens or needing advanced scheduling, PowerPoint digital signage software for businesses can wirelessly cast your PowerPoint presentations to specific screens, ensuring your content reaches the right audience at the right time. With these wireless casting options, you can present, share, and update your PowerPoint presentations with ease, all without the hassle of cables.
The Modern Solution: Direct Publishing with the Cloud
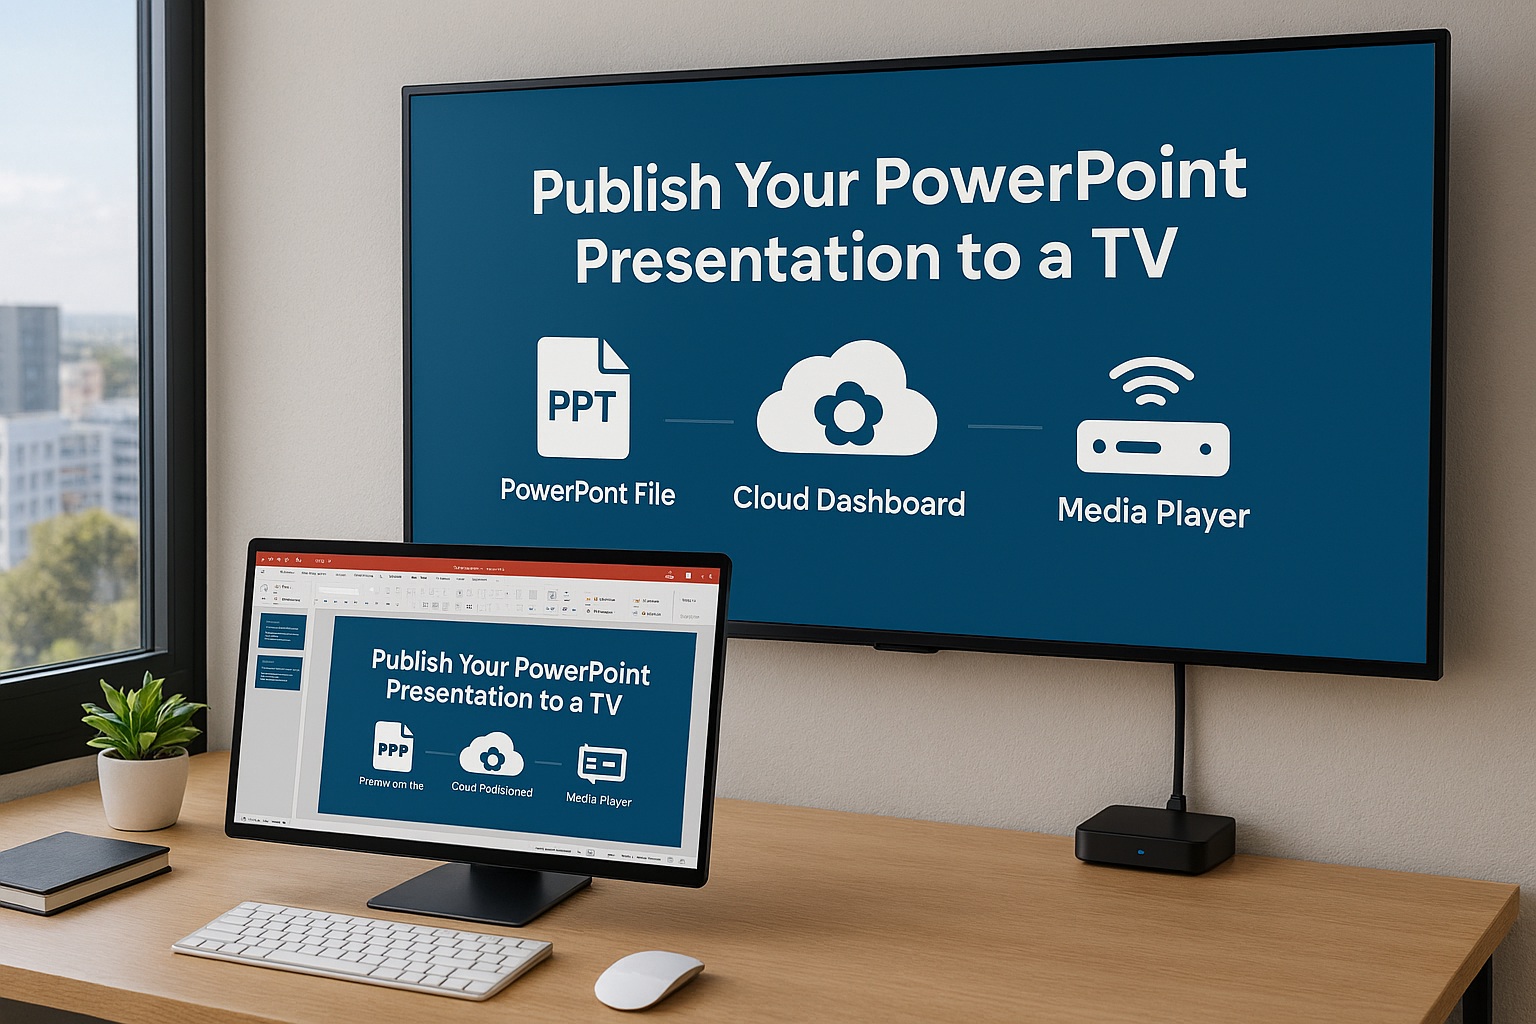
The easiest and most effective way to publish a PowerPoint presentation to a TV is by using a cloud-based digital signage platform. This approach creates a simple, three-part system:
- Your PowerPoint File: The content you create on your computer using Microsoft PowerPoint.
- A Cloud Dashboard: A web-based control center where you upload and manage your files, including slides and data-driven content.
- A Media Player: A small, dedicated device connected to your TV that receives content from the cloud. You may need to install the required software or app on the device. The solution is compatible with Windows-based media players as well.
This setup decouples content creation from content playback. You can be anywhere in the world and, with a few clicks, publish your presentation to a screen across the country while drawing on a broad range of PowerPoint digital signage best practices and ideas.
A Step-by-Step Guide to Publishing Your PowerPoint
Let’s break down the process into simple, actionable steps. This workflow transforms a tedious task into a streamlined, repeatable process.
Step 1: Save Your Presentation
Prepare your content in PowerPoint and save it as a PPT file. This ensures compatibility with most digital signage platforms and devices.
Step 2: Connect Your Media Player to the TV
Use a wired connection, such as an HDMI cable, to connect your PC, mobile devices, or even a phone to the TV. Plug the cable into the TV’s HDMI port—many TVs have multiple HDMI ports for easy switching. With some setups, the TV automatically detects the input once the device is connected, making the process quick and hassle-free.
Step 3: Upload and Schedule Your Presentation
Upload your PPT file to your digital signage platform and schedule it for display. Note: Google Slides can also be used as an alternative to PowerPoint for uploading and managing presentations, offering flexibility for users who prefer cloud-based tools.
Step 1: Optimize Your PowerPoint for a TV Display
Optimizing your PowerPoint slideshow for TV display ensures the best viewing experience, especially when you build a PowerPoint presentation specifically for digital signage. Before you publish, a few small adjustments to your presentation will ensure it looks great on a large screen and plays automatically. Let’s optimize your presentations before you publish the PowerPoint to digital signage screens by following a complete guide to using PowerPoint for digital signage:
- Set the Correct Slide Size: Most TVs use a 16:9 widescreen ratio. To avoid black bars, go to the Design tab in PowerPoint, click Slide Size, and choose Widescreen (16:9). If your screen is mounted vertically (portrait mode), select Custom Slide Size and swap the width and height dimensions (e.g., 1080px width, 1920px height). This ensures your PowerPoint slideshow fills the TV screen properly and lays the foundation for using PowerPoint for stunning digital signage.
- Automate Slide Advancement: The presentation needs to run on its own. Go to the Transitions tab. Uncheck the box for On Mouse Click and check the box for After. Set a duration for how long each slide should appear (8-12 seconds is a good starting point). You can apply this timing to all slides or set custom durations for each one. This makes your PowerPoint slideshow play smoothly on TV screens.
- Set It to Loop: You want your presentation to play continuously. Navigate to the Slide Show tab and click Set Up Slide Show. In the pop-up window, find the “Show options” section and check the box for Loop continuously until ‘Esc’. This is ideal for displaying a PowerPoint slideshow on a TV in public or business environments.
- Embed Your Fonts: To ensure your branded fonts display correctly on any device, go to File > Options > Save. Check the box for Embed fonts in the file.
Save your presentation. It’s now a self-contained, auto-playing, and perfectly formatted PowerPoint slideshow for digital signage content.
Step 2: Connect Your TV to a Cloud Platform
This is the hardware part of the equation, and it’s simpler than it sounds. You’ll need a dedicated digital signage media player for each TV. This is a small, low-cost device that connects to your TV’s HDMI port and your network (via Wi-Fi or an Ethernet cable).
Platforms like SignageTube offer pre-configured players that make setup a breeze. The process is typically:
- Plug the media player into the TV’s HDMI port and power it on.
- Follow the on-screen instructions to connect it to your internet network.
- A unique code will appear on the screen.
Step 3: Use the Cloud Dashboard to Manage Your Content
Now, from your computer, log into your cloud signage dashboard.
- Add Your Screen: Find the section to “Add Screen” or “Register Player” and enter the code displayed on your TV. The screen is now paired with your account and ready to receive content.
- Upload Your PowerPoint: Navigate to the media library in your dashboard and upload the .pptx file you prepared in Step 1. A good platform will process the file while preserving all your animations, transitions, and embedded media.
- Assign the Presentation: Select the screen you just added and assign your uploaded PowerPoint presentation to it.
Within moments, the media player will securely download the presentation from the cloud and begin playing it on your TV in a continuous loop. You have successfully published from your desk to your display.
The Power of Remote Management and Updates
The true beauty of this system is how easy it is to manage over time.
Making an Update
- Quick Edits: Need to change a price, fix a spelling error, or add a new slide? Simply open the PowerPoint file on your computer, make your edits, and save.
- Instant Publishing: Then, re-upload the file to your cloud dashboard, replacing the old version, or use the platform’s Live PowerPoint playback without rendering delays when you need changes to appear almost instantly. The system automatically pushes the new content to the TV.
Scheduling Content
- Flexible Scheduling: Want to show a “Good Morning” slide from 8-10 AM and a promotional slideshow for the rest of the day? The cloud dashboard allows you to create playlists and schedule them to play at specific times or on specific days.
- Automated Campaigns: You can set campaigns to start and end automatically, ensuring your content is always timely.
Managing Multiple Screens
- Centralized Control: If you have screens in different locations—a lobby, a break room, and a second office branch—you can manage them all from your single dashboard.
- Custom Content: You can group screens together to play the same content or assign unique presentations to each one individually.
Tips for a Successful Display
To ensure your PowerPoint presentation looks professional and runs smoothly on a TV screen, keep these tips in mind:
- Double-check that your TV is set to the correct HDMI input if you’re using a cable, or that both your device and TV are on the same Wi-Fi network for wireless casting.
- Use a high-quality HDMI cable or a reliable wireless casting method to avoid lag, interruptions, or disconnections during your presentation.
- Adjust your device’s display settings to show your PowerPoint presentation in full screen mode, so your audience sees only your slides and nothing else.
- If you’re managing multiple screens or need to schedule content, consider using digital signage software to create, upload, and set your presentations to play automatically.
By following these best practices and using PowerPoint for digital signage with step‑by‑step best practices, you’ll create a seamless, engaging display for your PowerPoint presentation—whether you’re presenting in a single room or across an entire network of screens.
Conclusion: The Simple, Scalable Solution
The days of complicated setups and manual updates are over. Publishing a PowerPoint presentation to a TV screen should be a simple, “set it and forget it” process. By leveraging the power of a cloud-based digital signage platform, you create a direct and reliable bridge from your desk to your display.
This modern approach not only saves you immense time and effort but also empowers you to use your screens more strategically. It turns them from static, hard-to-manage displays into dynamic, automated assets that communicate your message effectively and professionally. The easiest way is also the most powerful.