[et_pb_section fb_built=”1″ _builder_version=”4.16″ global_colors_info=”{}”][et_pb_row _builder_version=”4.16″ background_size=”initial” background_position=”top_left” background_repeat=”repeat” global_colors_info=”{}”][et_pb_column type=”4_4″ _builder_version=”4.16″ custom_padding=”|||” global_colors_info=”{}” custom_padding__hover=”|||”][et_pb_code _builder_version=”4.16″ z_index_tablet=”500″ global_colors_info=”{}”]
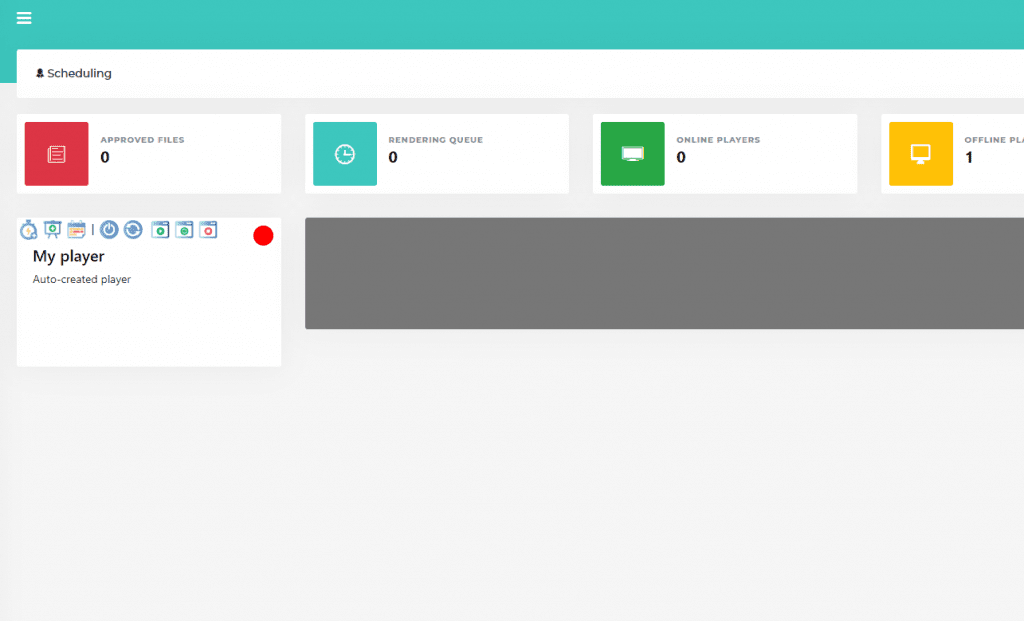
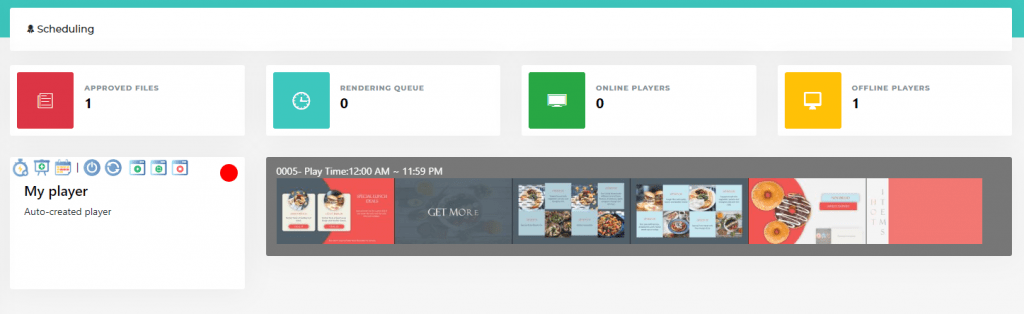
When you first log in on your control panel, you’ll see there’s a auto-created player.
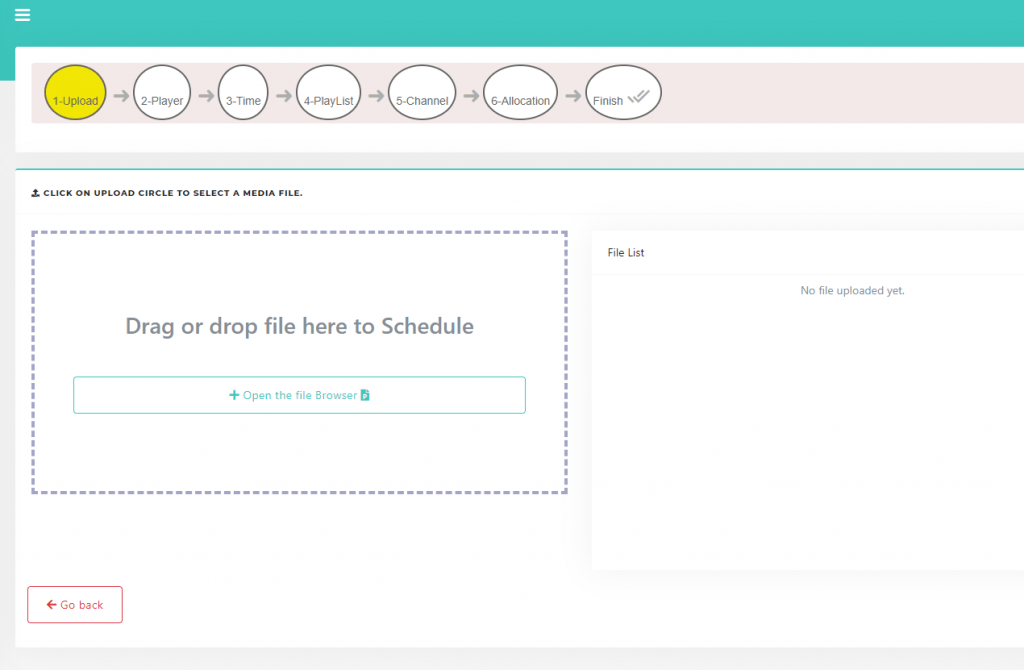
To quickly test our software or quickly set up a media, click on the Quick Start icon ![]()
The popup for the quick start opens. Now you can upload a media file.
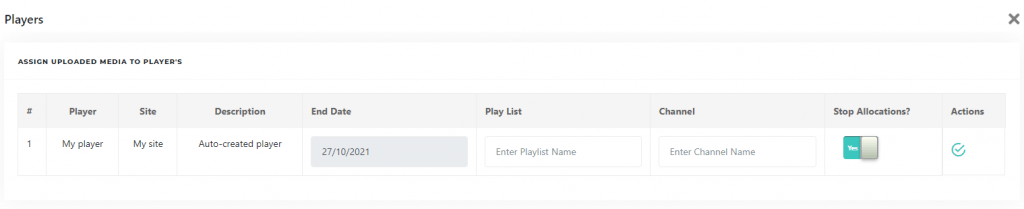
After uploading, click on the checkmark to start your player with the uploaded media. The server is going to render your presentation and copy it to your player for 24 hours, that day.
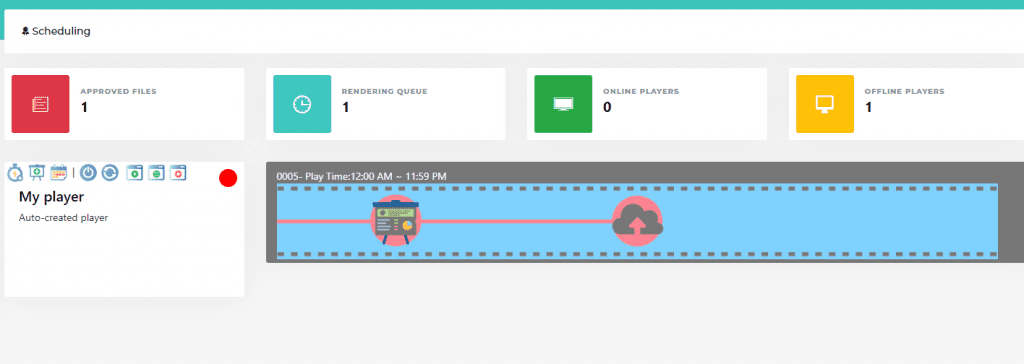
You will see a default movie in your player, this means your media file is being rendered. This should take a few minutes depending on your file size.
In the meanwhile you can link your display to your player. Click on Players in the menu on the left
Then click the pencil icon to edit “My Player”. You will see some other information about your player and a field with “Remote Connection ID”.

Go back to the scheduling page. Check if your media file is ready, you get a notification in your mailbox.
Now your display should start showing your presentation in a minute.
Go ahead in our documentation to find out more about complex setups and more settings.
Pick what you want to try. No credit card needed, just your name and email.
Show your content, menus, welcome screens and promotions. The easiest place to start.
Start Cloud trial →Show live data that updates itself, prices, KPIs and dashboards from Excel and 20+ live sources. All features included.
Start Live trial →Not sure? Start with Cloud, you can switch anytime.
Both include a 7-day free trial. No credit card needed, just your name and email.
