[et_pb_section fb_built=”1″ _builder_version=”4.16″ global_colors_info=”{}”][et_pb_row _builder_version=”4.16″ background_size=”initial” background_position=”top_left” background_repeat=”repeat” global_colors_info=”{}”][et_pb_column type=”4_4″ _builder_version=”4.16″ custom_padding=”|||” global_colors_info=”{}” custom_padding__hover=”|||”][et_pb_code _builder_version=”4.16″ z_index_tablet=”500″ global_colors_info=”{}”]
Go to Signagetube.com to sign up.
To get started we are going to make an account, order the subscription for your business and explain all account details.
When you’ve bought the chosen plan as subscription, you will get an email with some login information and a link to your own control panel.
There you can edit and manage everything that we have to offer. More info on that down at the Control Panel Section.
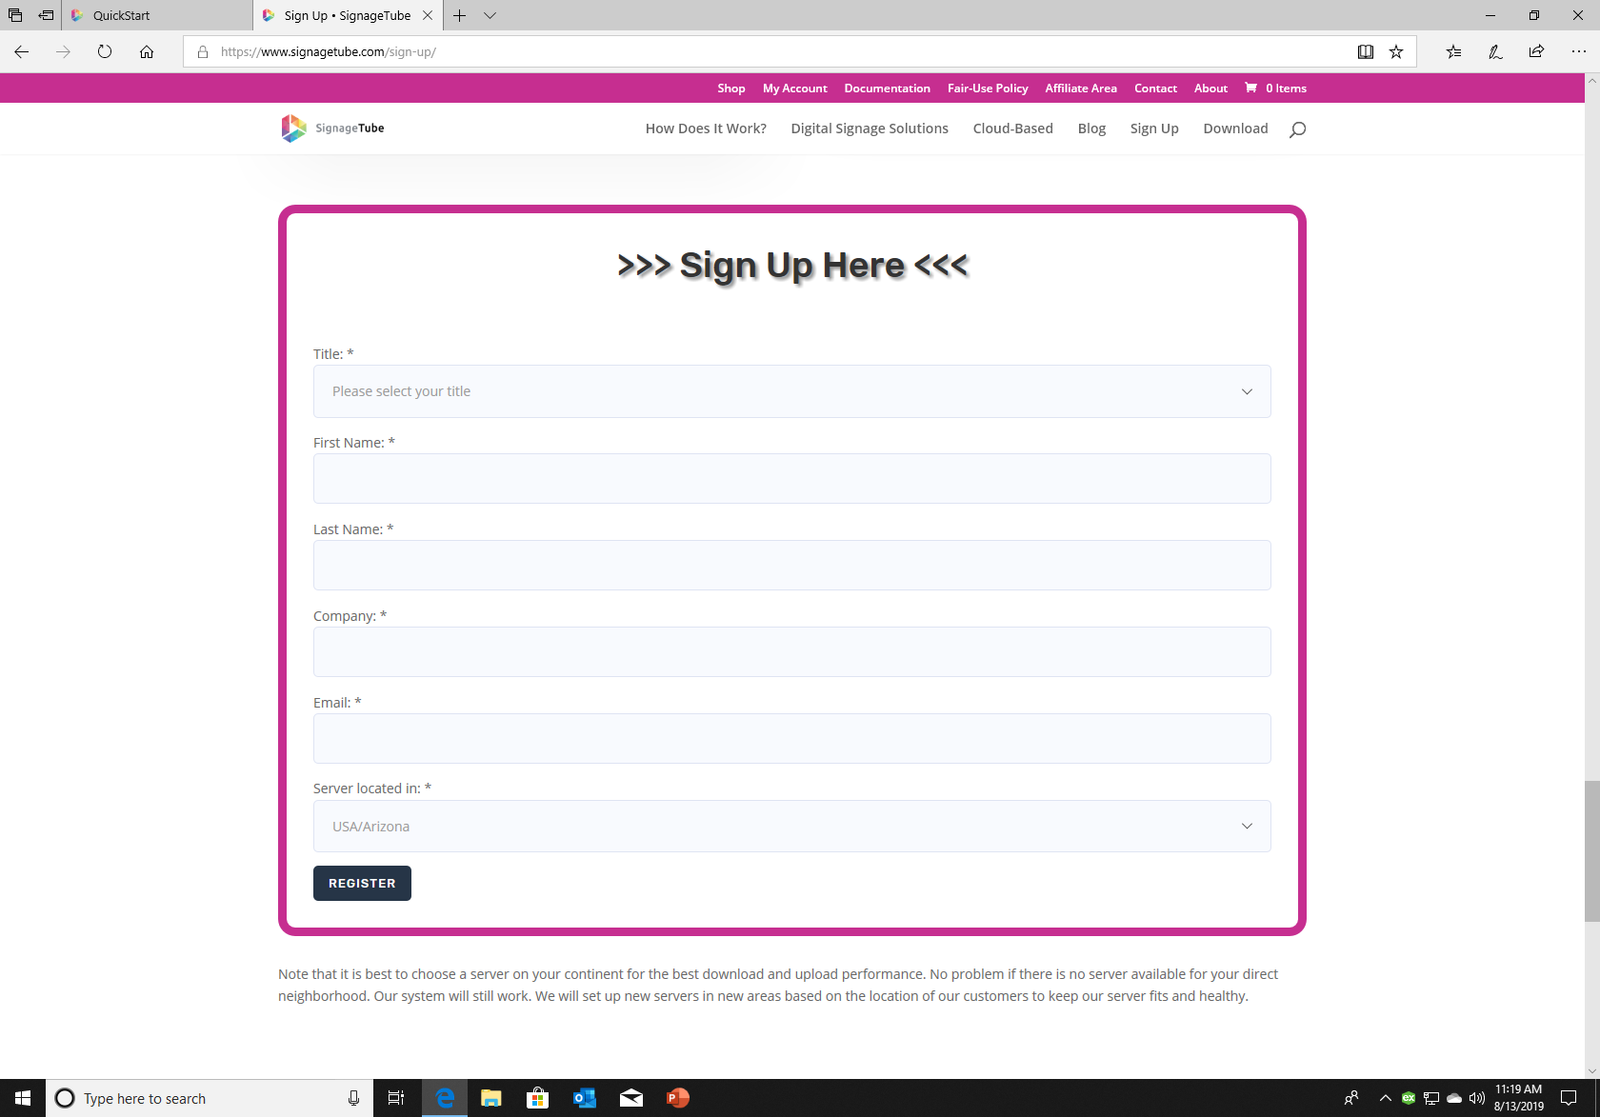
To Sign Up for an account click “Sign Up” in the menu. Click then on “SIGN UP FORM” and fill in the form.
You will receive an email with the information on how to login on the account page of the public website. If you haven’t received a mail, be sure to check your spam folder.
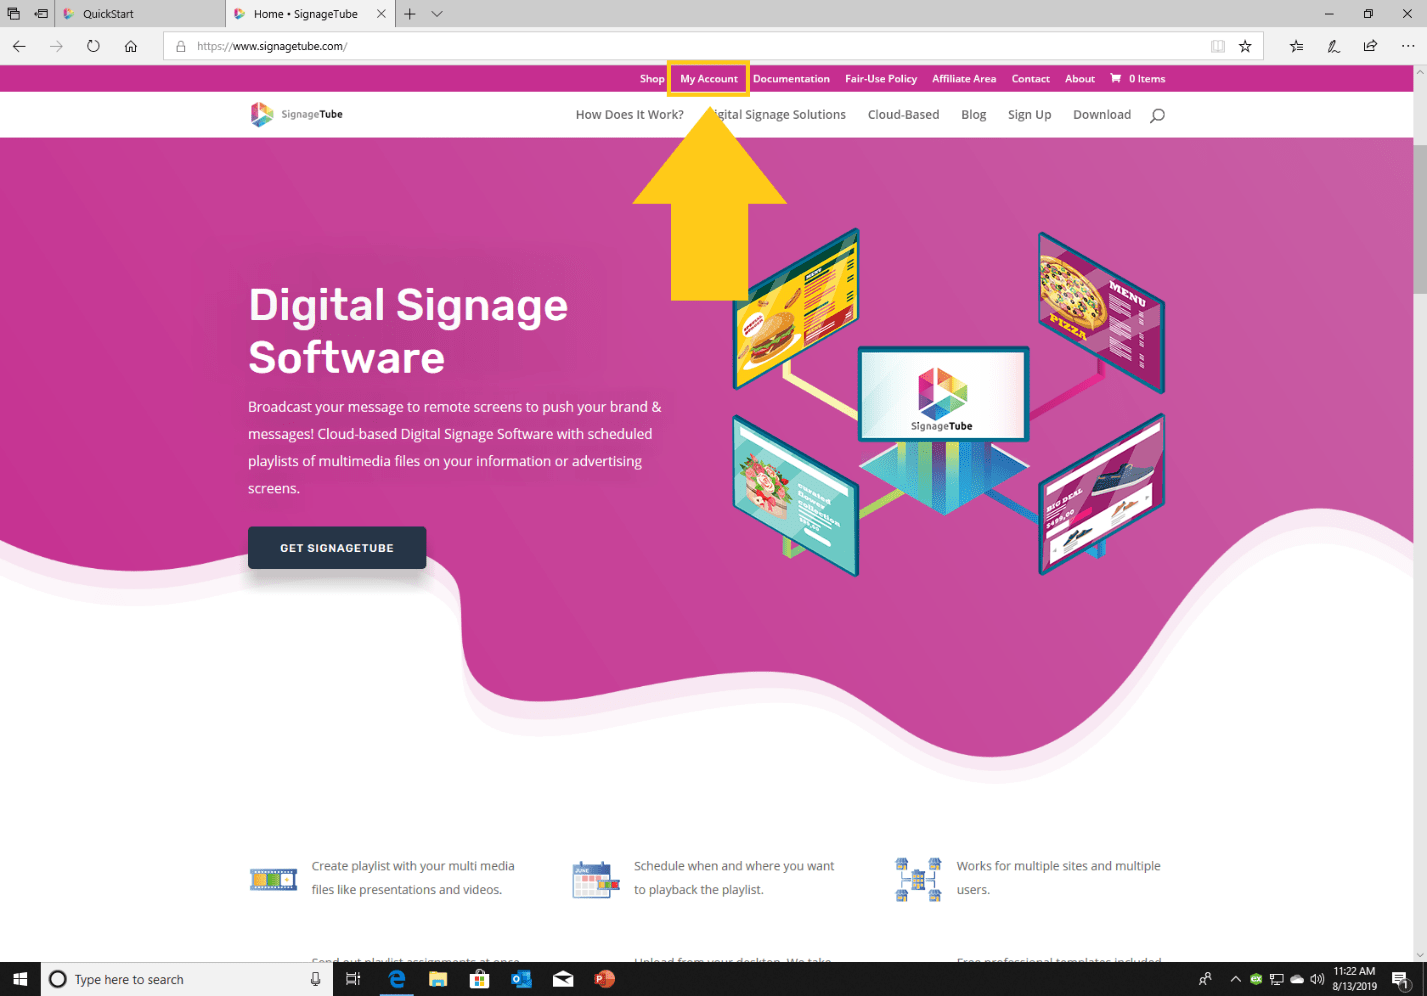
To log in to your account, click My Account in the top menu.
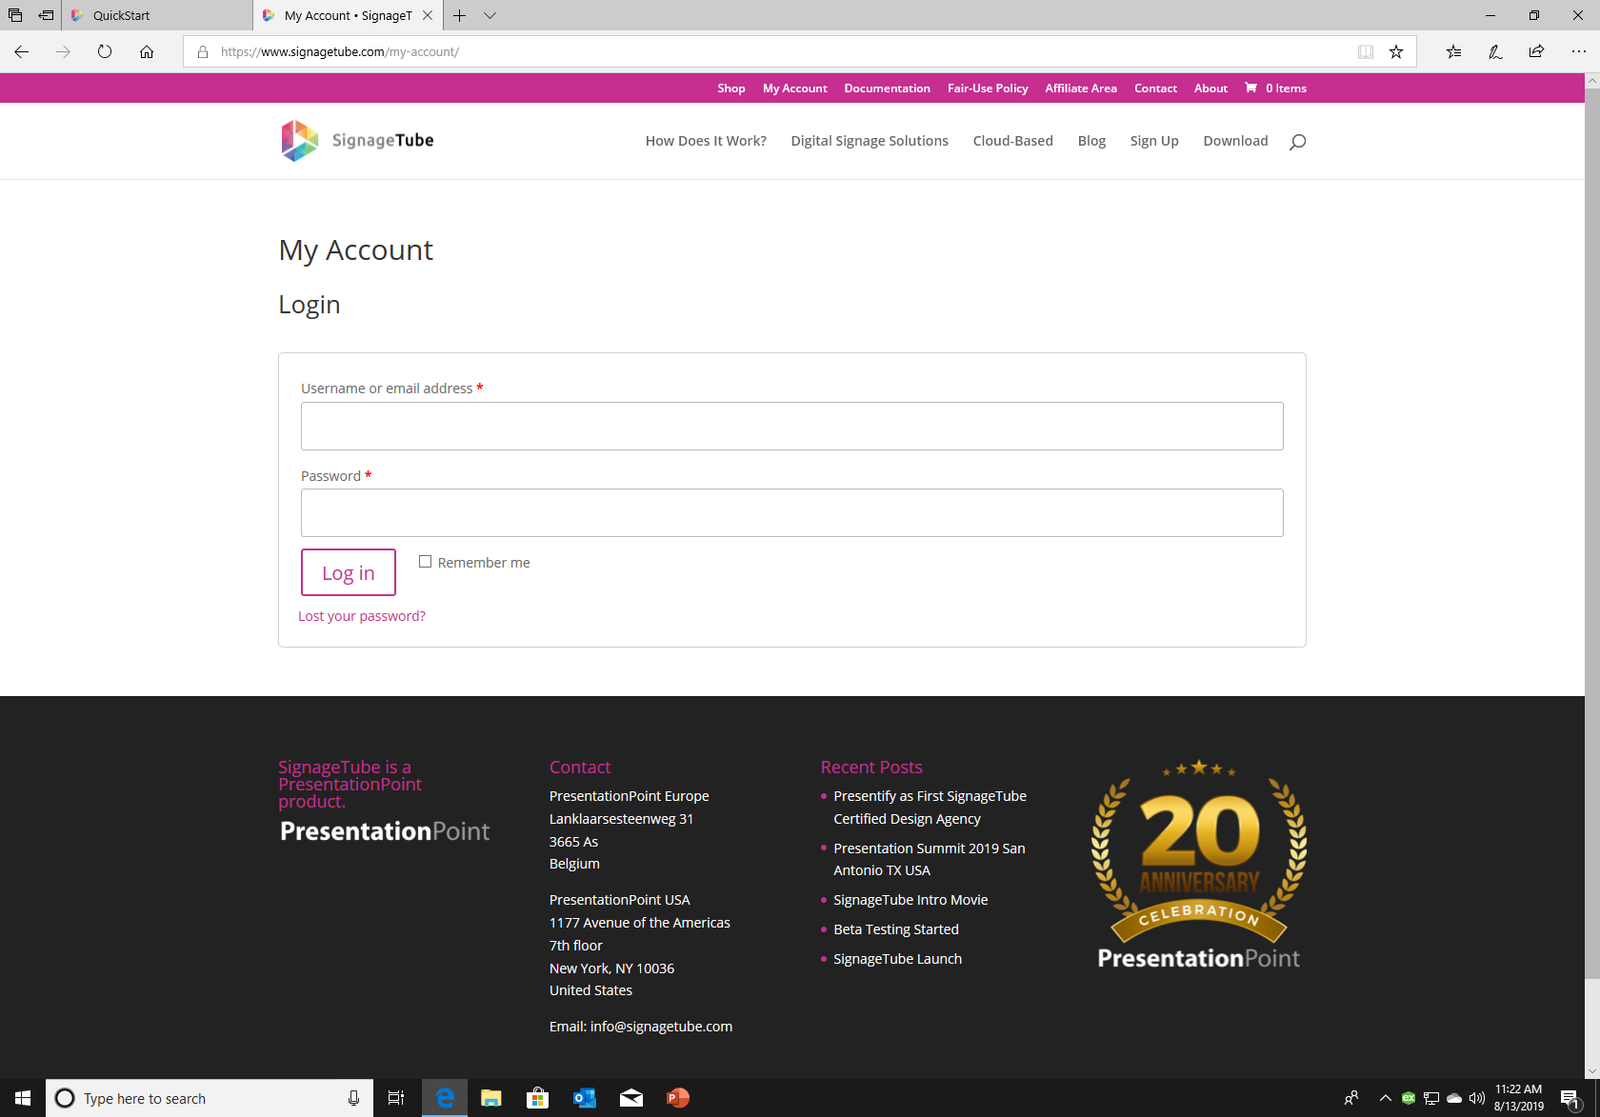
Then log in with the mail address you used to sign up and the password given in the mail.
When logged in you see the Account Details page. All the pages will be explained in the next section.
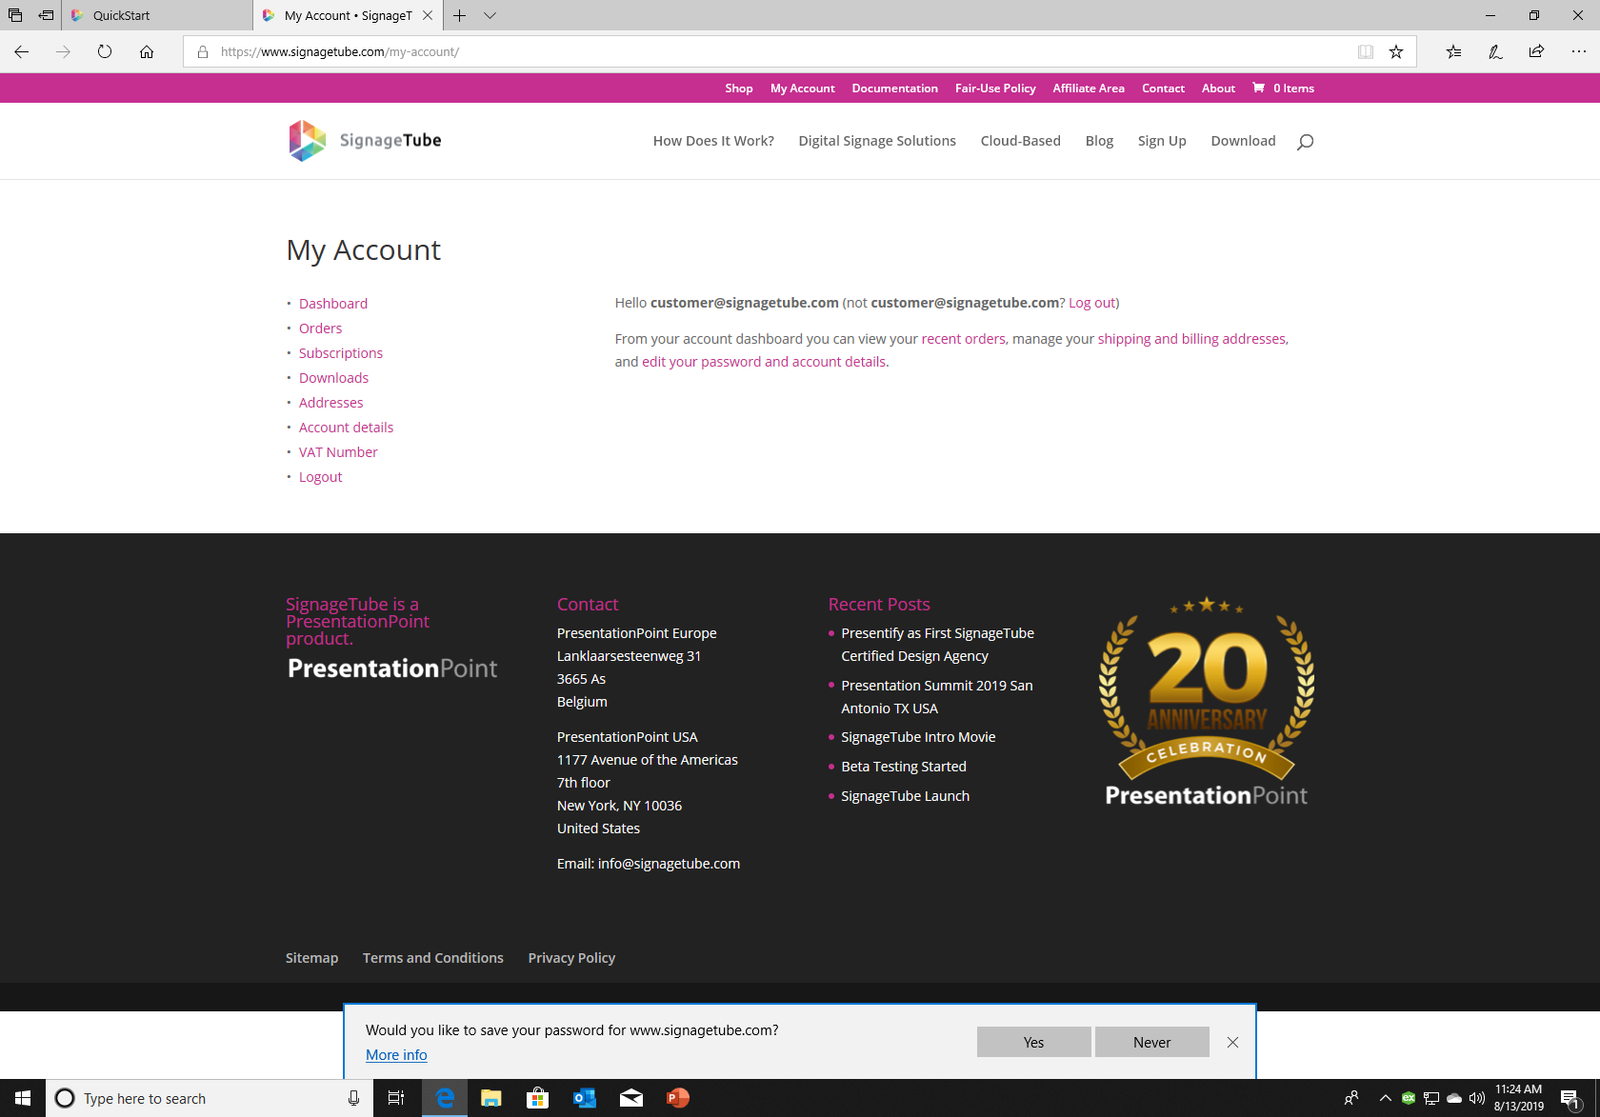
Here you can manage all subscriptions, orders, and other information about your account.

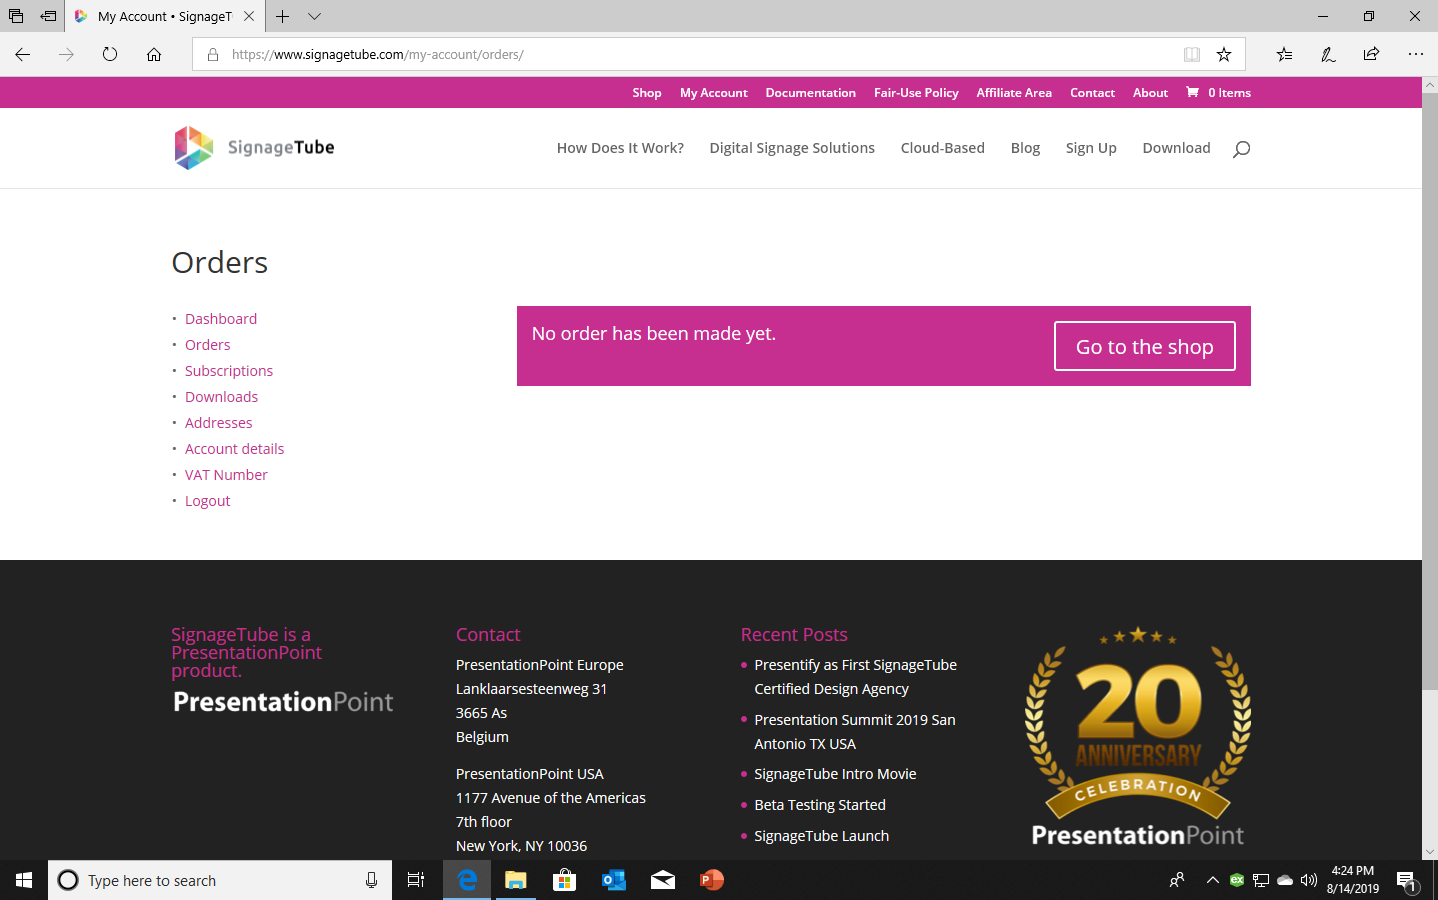
Click Go to the shop to see the plans you can buy for your business. Follow the steps here.
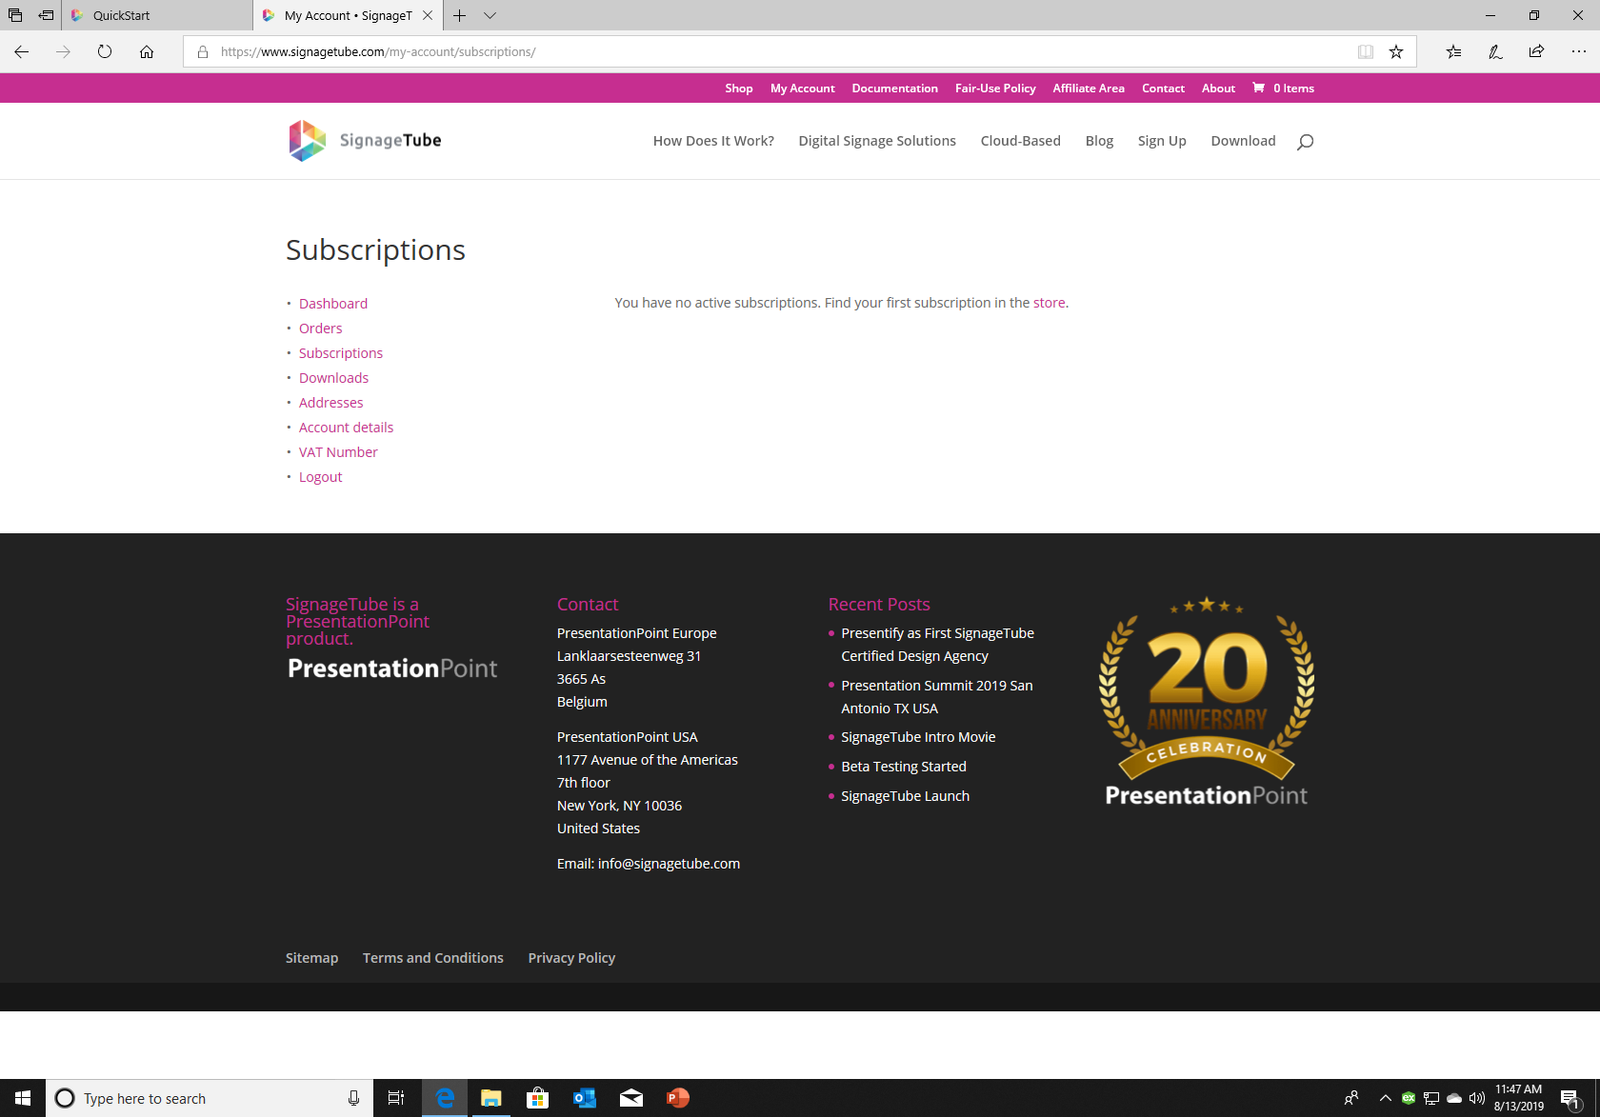
Here you can see your subscriptions and edit them.
If you have none running, you can go to the store and order them.
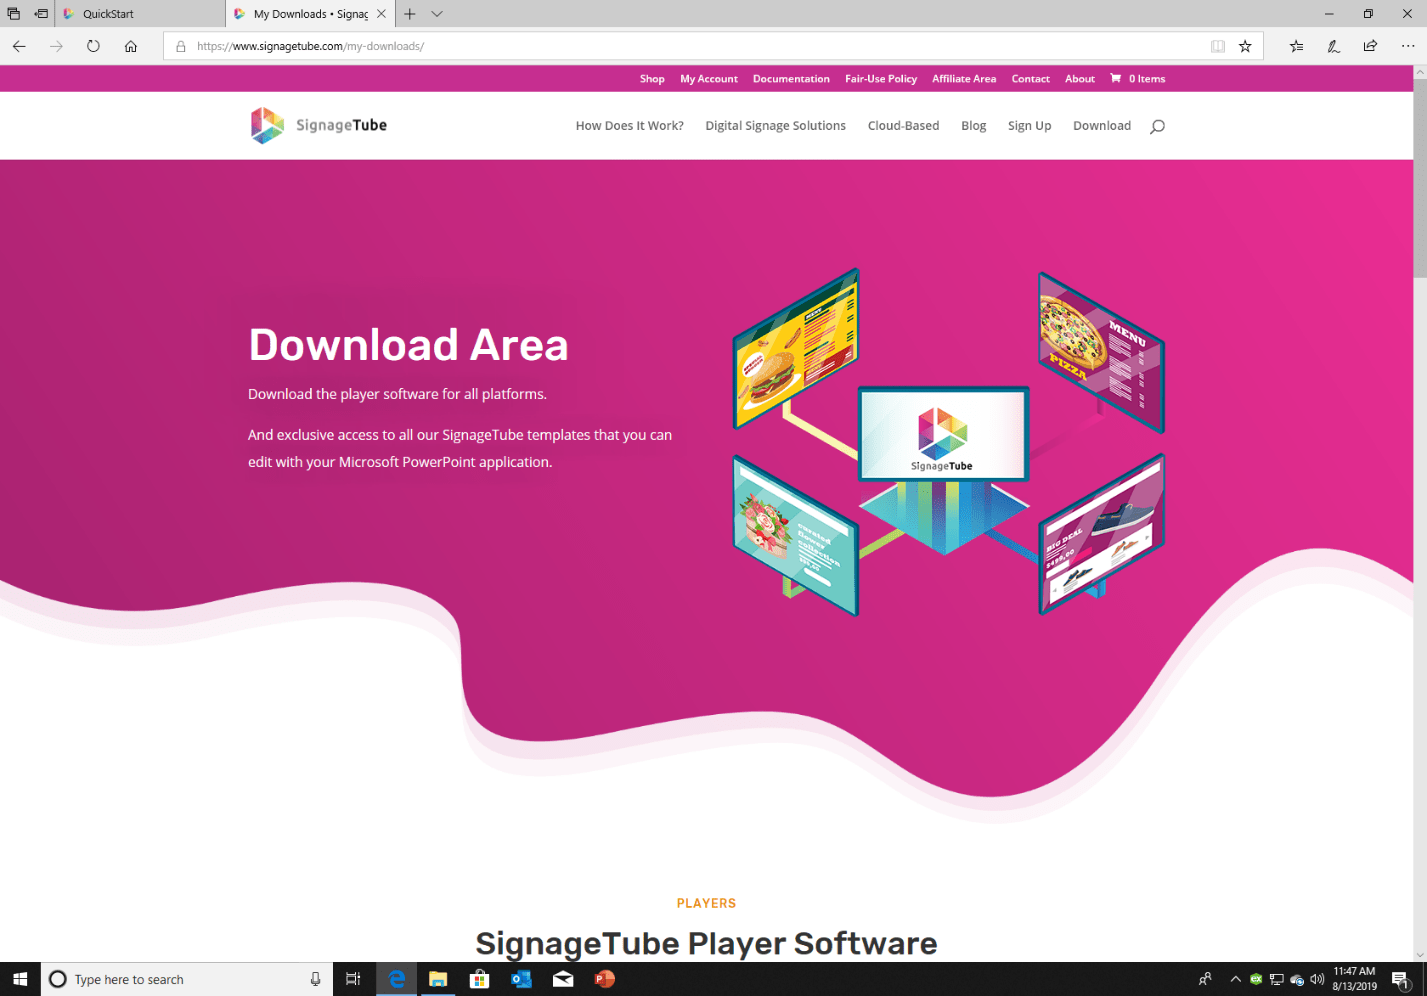
Downloads brings you the Download Area where you can download exclusive templates that can be used in SignageTube. You can easily edit them with your text and images.
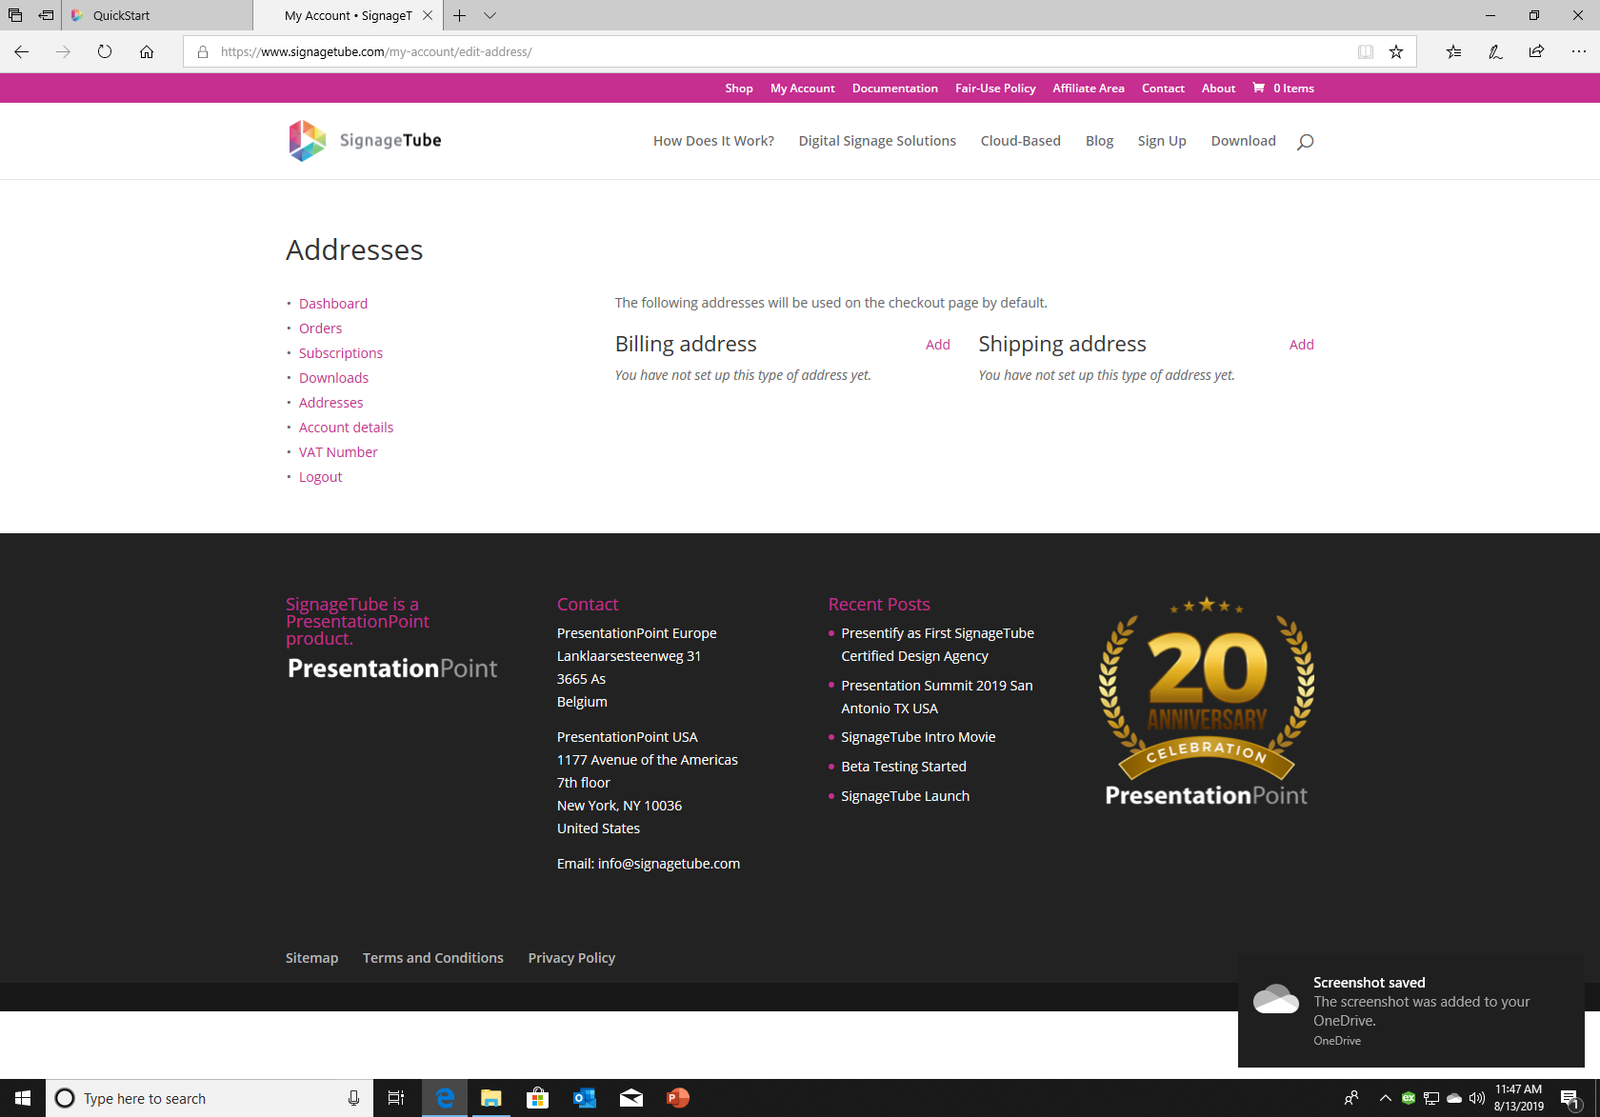
Set up your billing address or shipping address to checkout and all taxes can be done correctly.
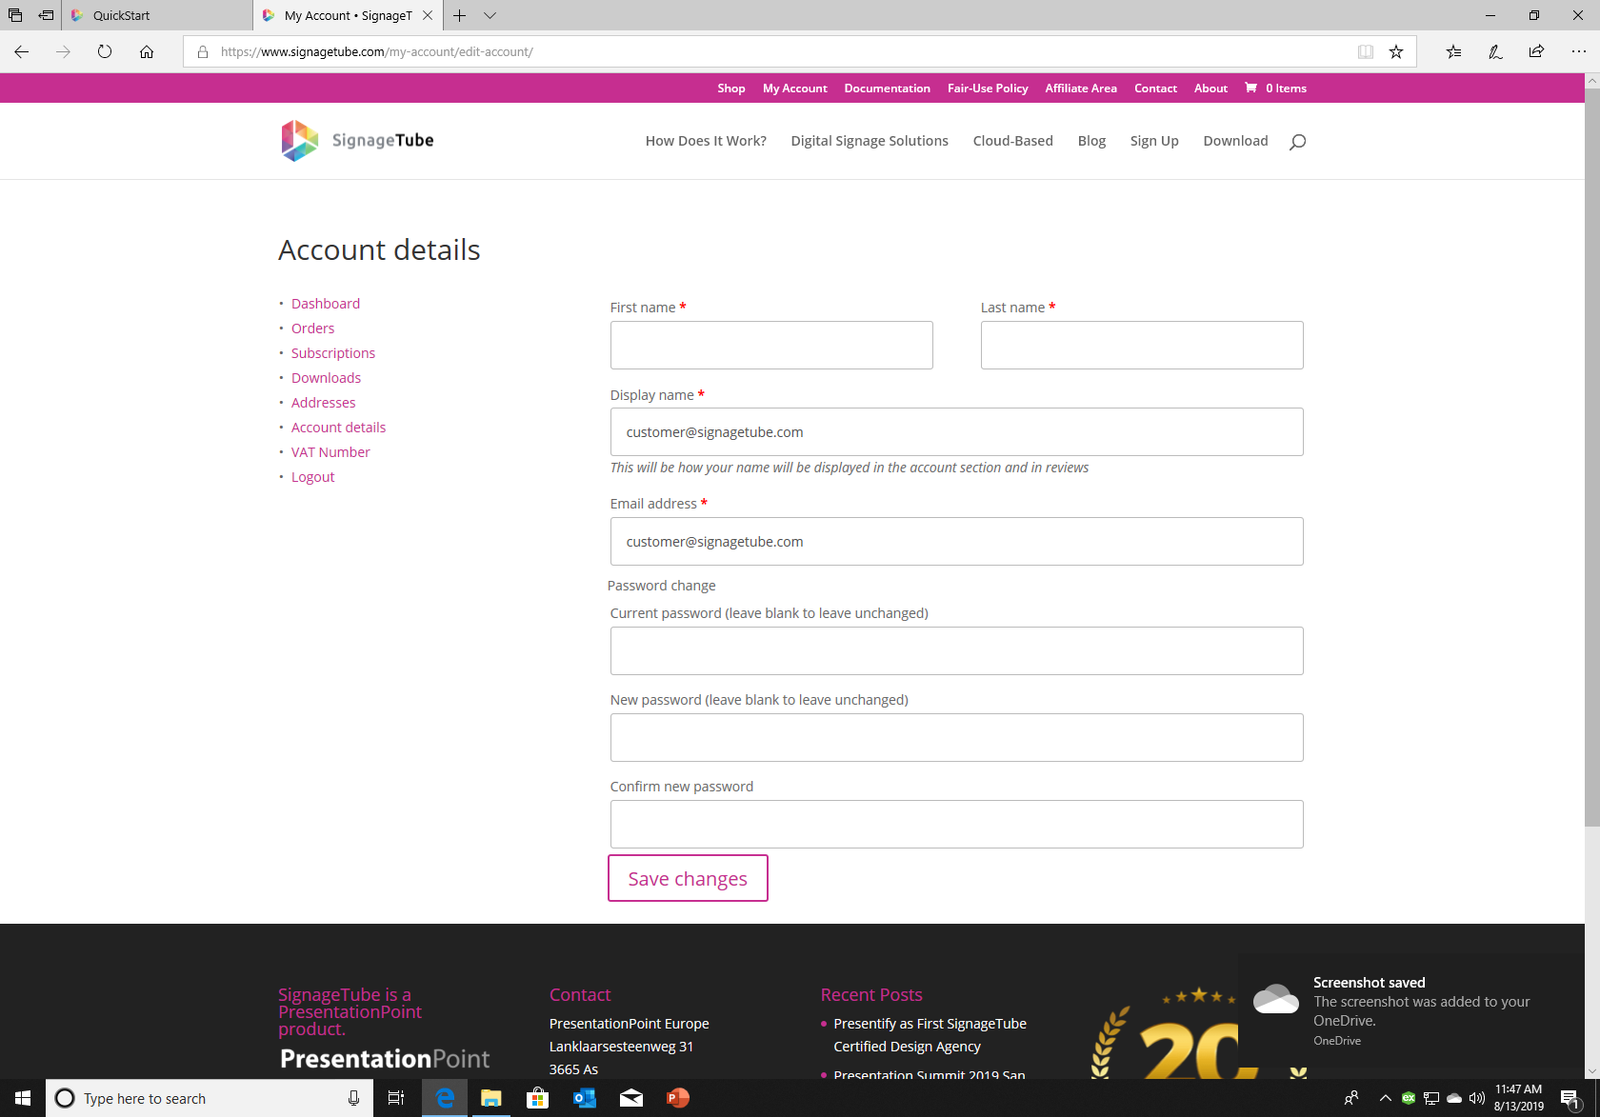
Here you can edit your name, account name, email, and password.
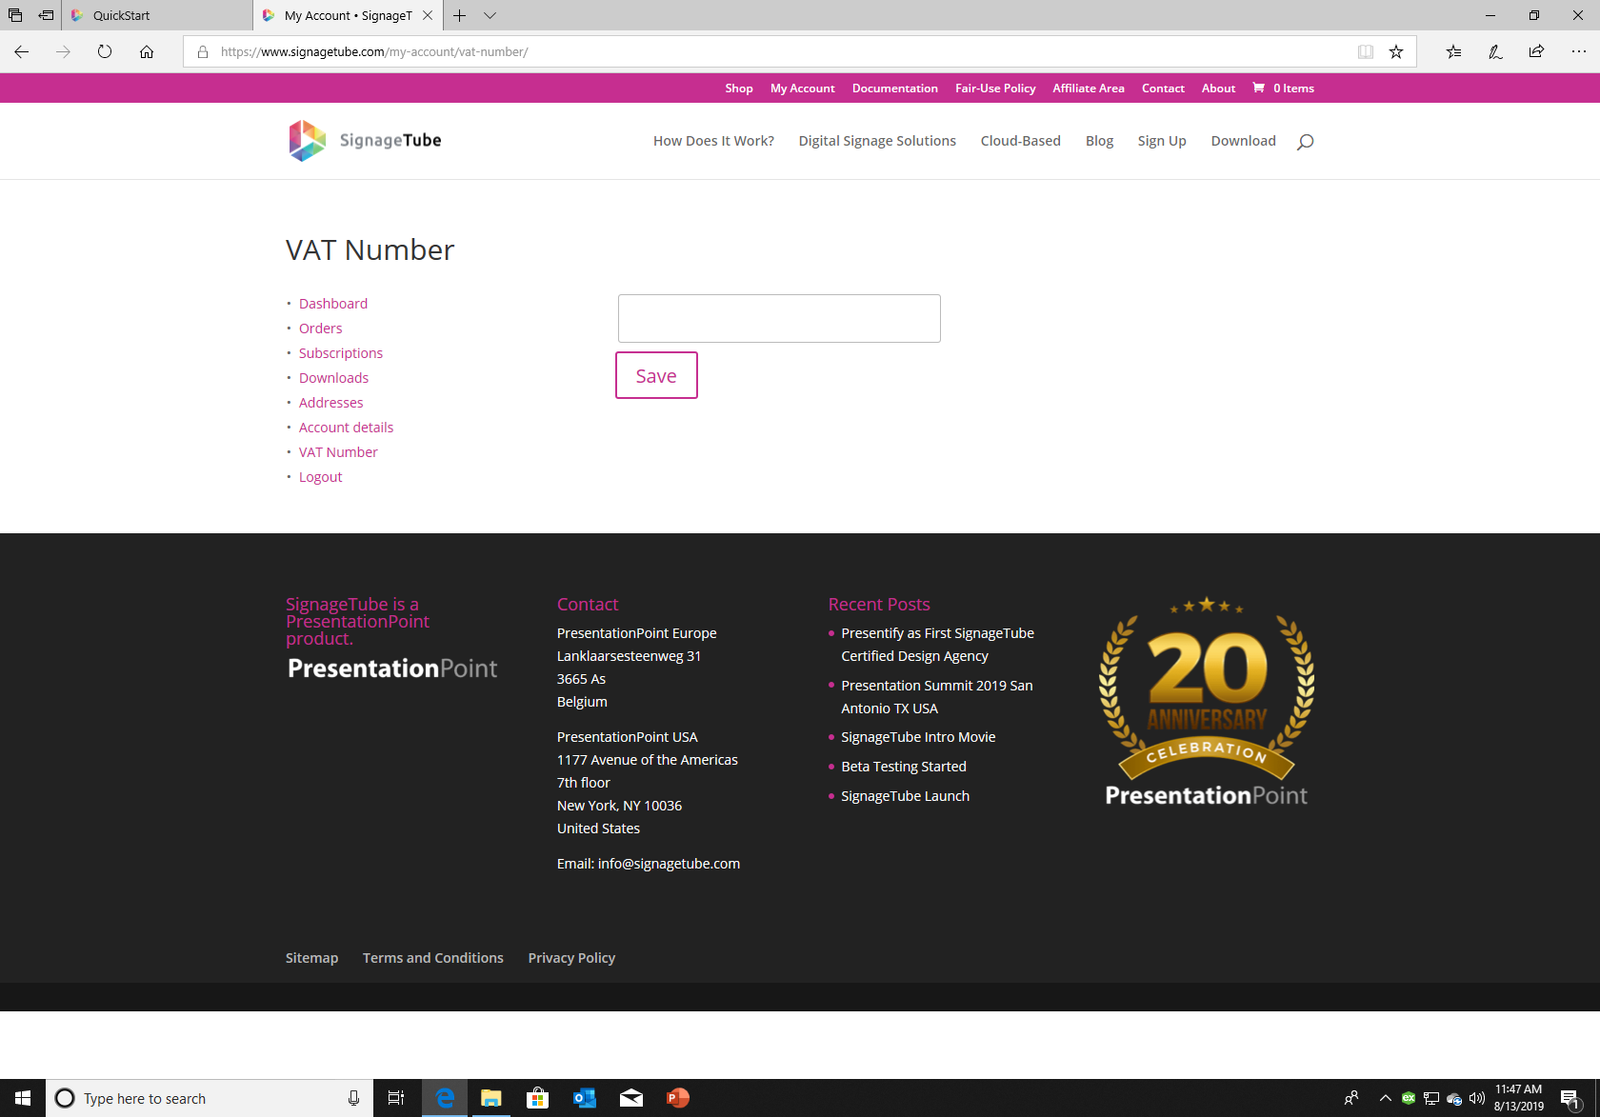
Value added tax or sales tax will only be added to residents of the European Union. For all others (residents and companies) outside the European Union, no VAT or sales tax will be added.
Click Logout to log out of your account. You can easily log back in at My Account. Your email and password will be saved by your browser.
The shop page
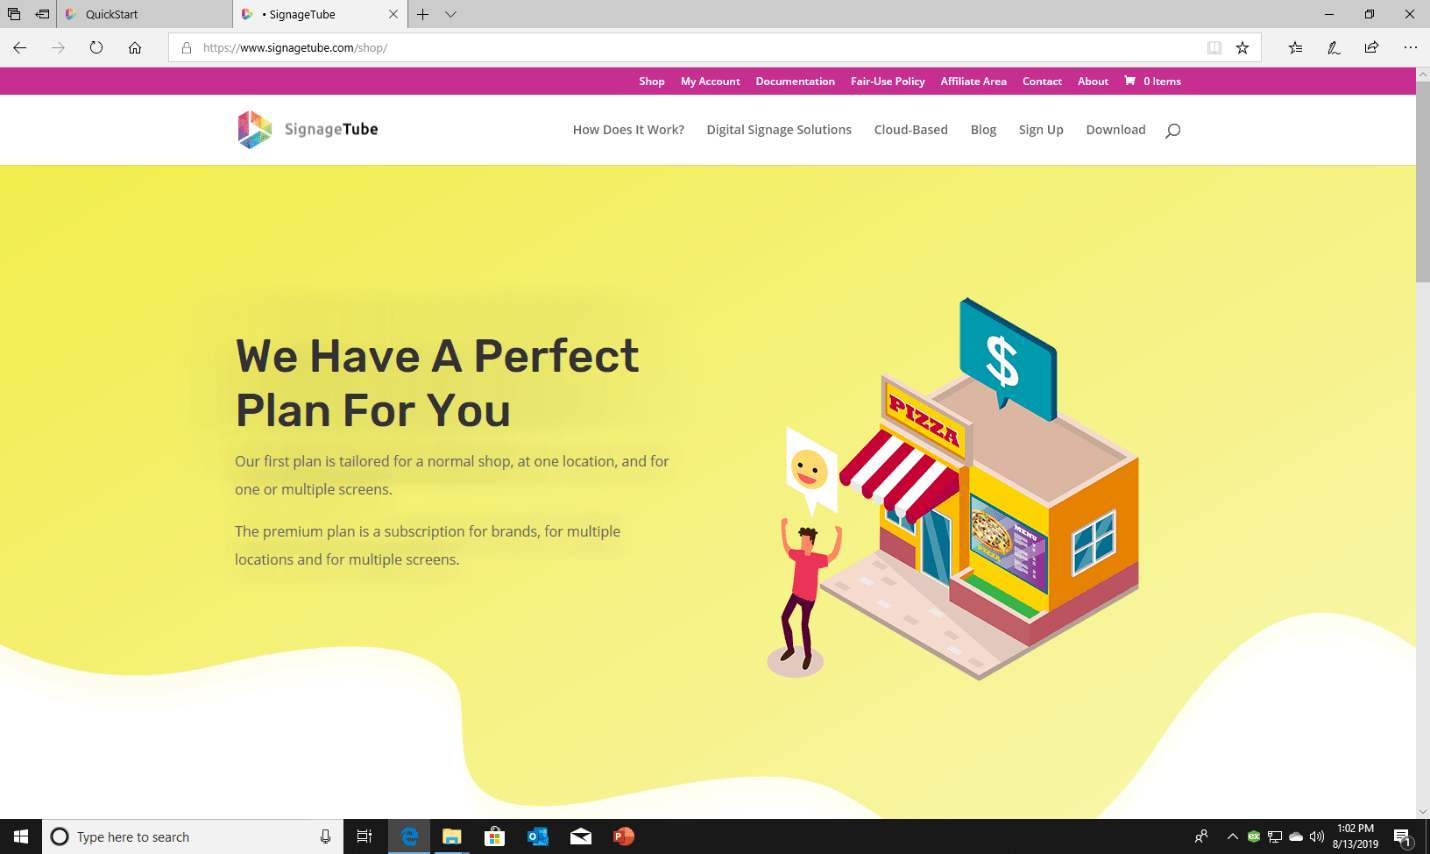
Scroll down to find our products.
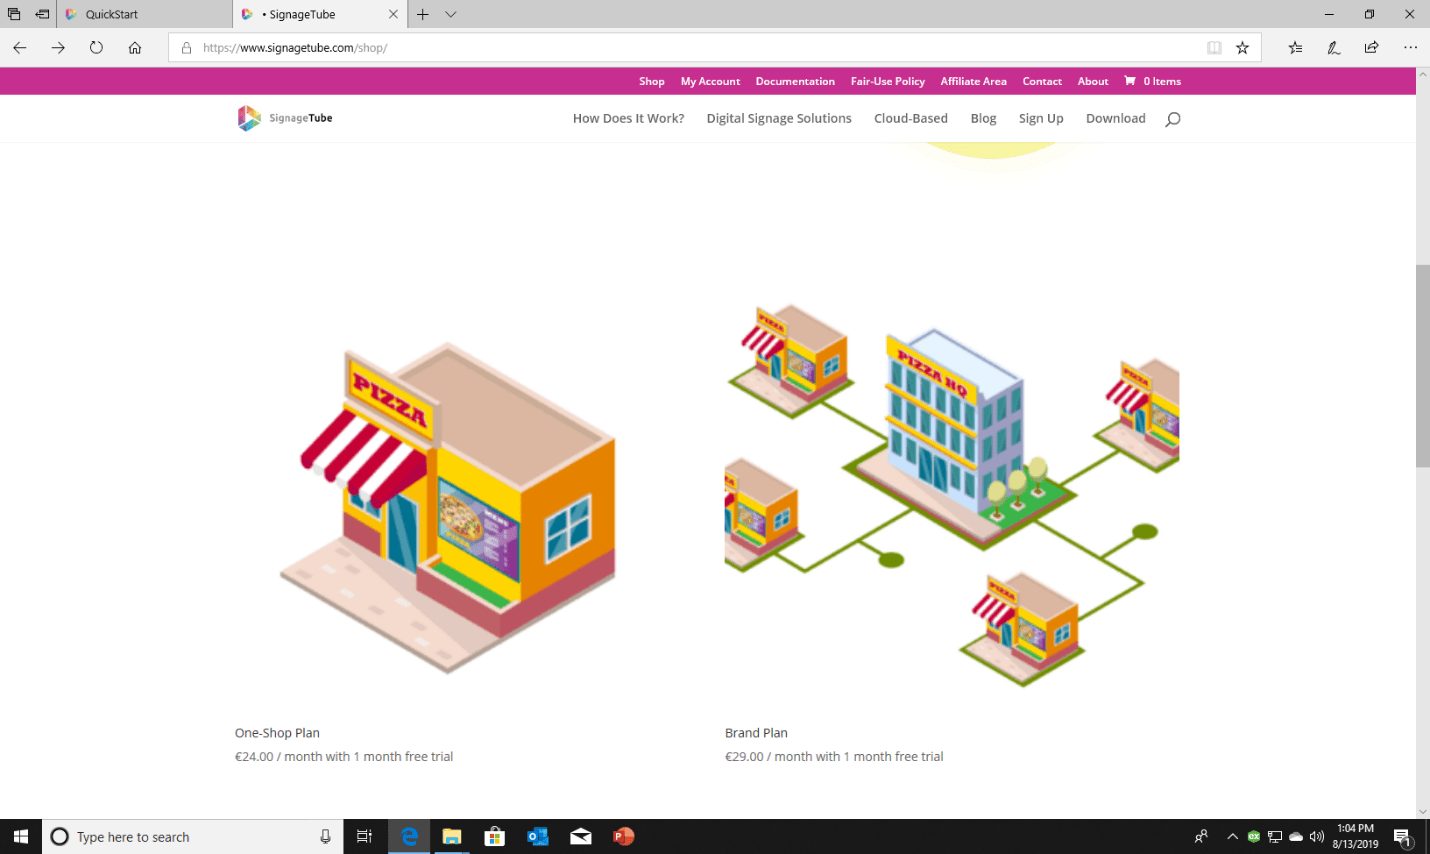
We have two plans to fit in your business.
The One-Shop Plan is a plan for the typical local bakery or butcher in your village with one building and location.
You can manage all your monitors in your store with this plan.
The other plan, Brand plan is for companies that have multiple locations of their store with each store having monitors.
There are two options in this plan:
The administrator in the headquarters can still manage everything even if each location has their own administration. He manages all users and has the option to enable the media approval module to approve all presentations that are uploaded to their server.
To buy a plan, click on it and click again on Sign Up Now to add it to the shopping cart and then view cart.
Check your order and press proceed checkout.
Fill in the form and choose your payment method
Proceed and further and when the payment is done keep your mail open to receive the order confirmation.
For all the admins in their headquarters, we a documentation to get started in the control panel and manage your players.
First, you need to add a site. We have already created a standard site where you can test on, this is the default site so it can not be deleted.
Secondly, there are players. These are your monitors or displays with a windows computer. Your media files will be stored on here if scheduled.
On your players you can add channels and in the channel you have to add playlists with your media files.
To understand this we have an easy example.
Everyone knows how a schedule from your television looks like.
You have the channels and in each channel there are movies and shows, they are your playlists.
In these playlists are a piece of the movie and a piece of the advertisement in between the movie.
The pieces are your media files.
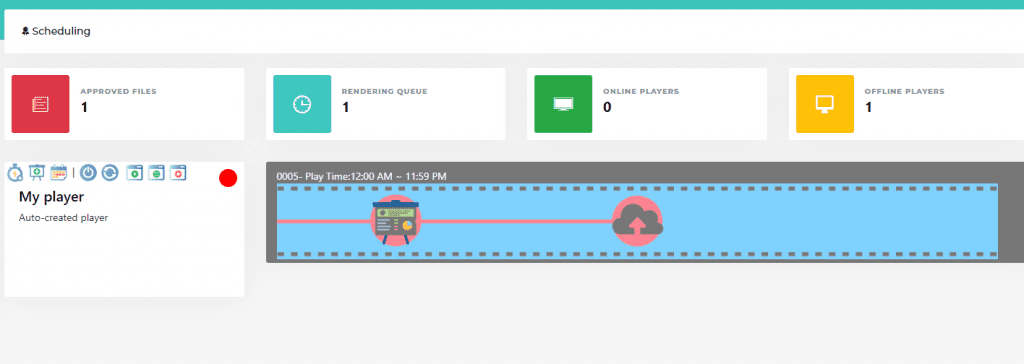
When you first log in on your control panel, you’ll see there’s an auto-created player.
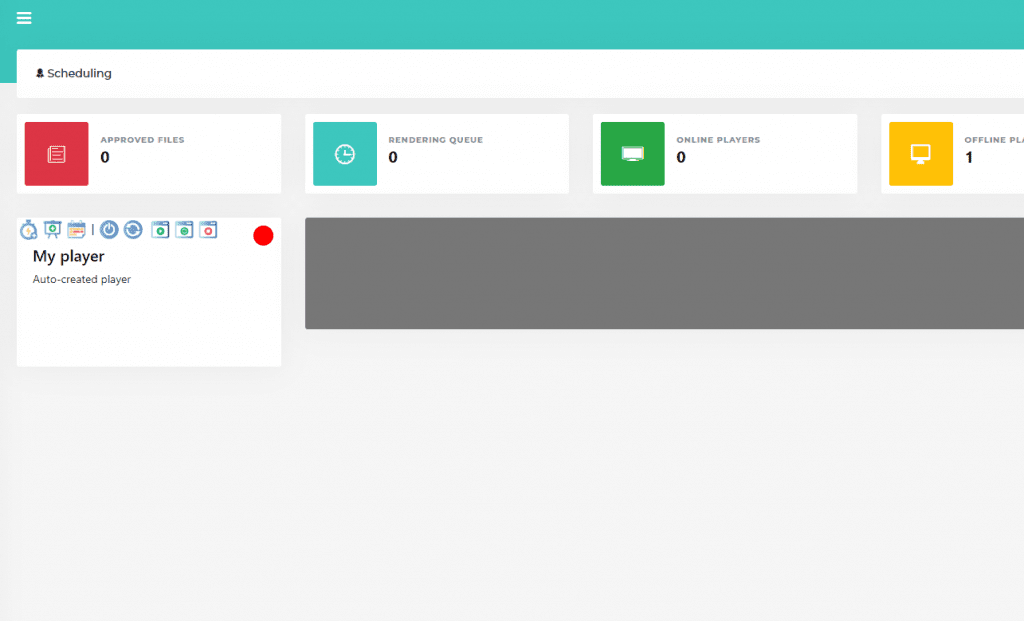
To quickly test our software or quickly set up a media, click on the Quick Start icon
![]()
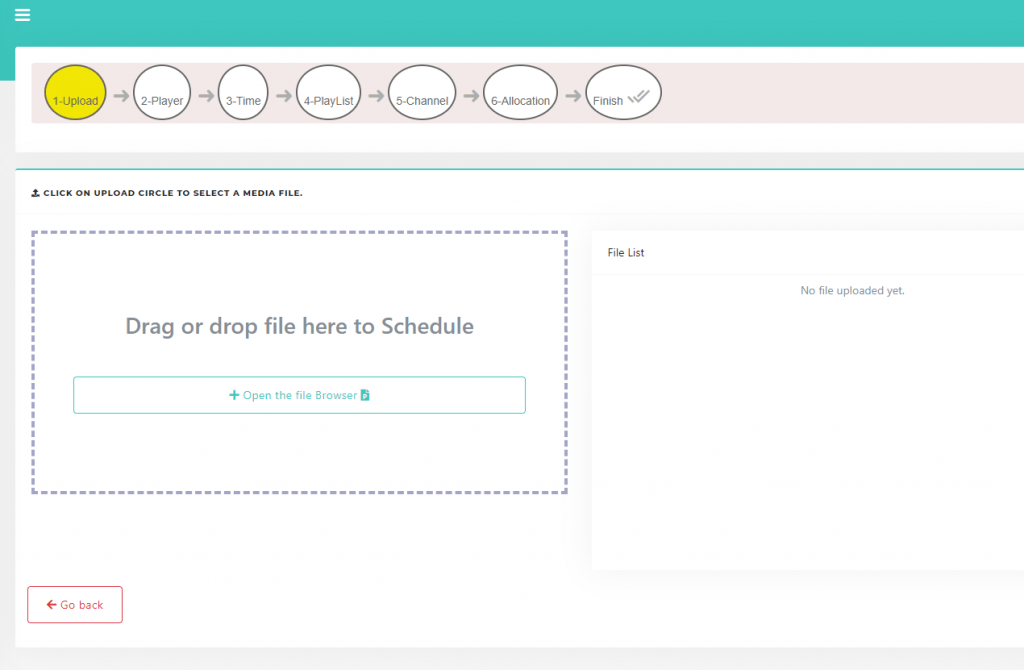
The popup for the quick start opens. Now you can upload a media file.
After uploading, click on the checkmark to start your player with the uploaded media. The server is going to render your presentation and copy it to your player for 24 hours, that day.
You will see a default movie in your player, this means your media file is being rendered. This should take a few minutes depending on your file size.
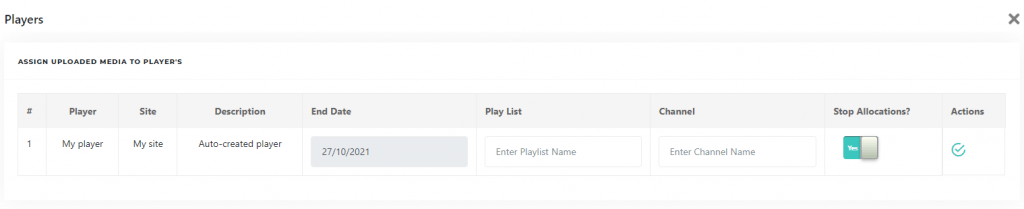
In the meanwhile, you can link your display to your player. Click on Players in the menu on the left.
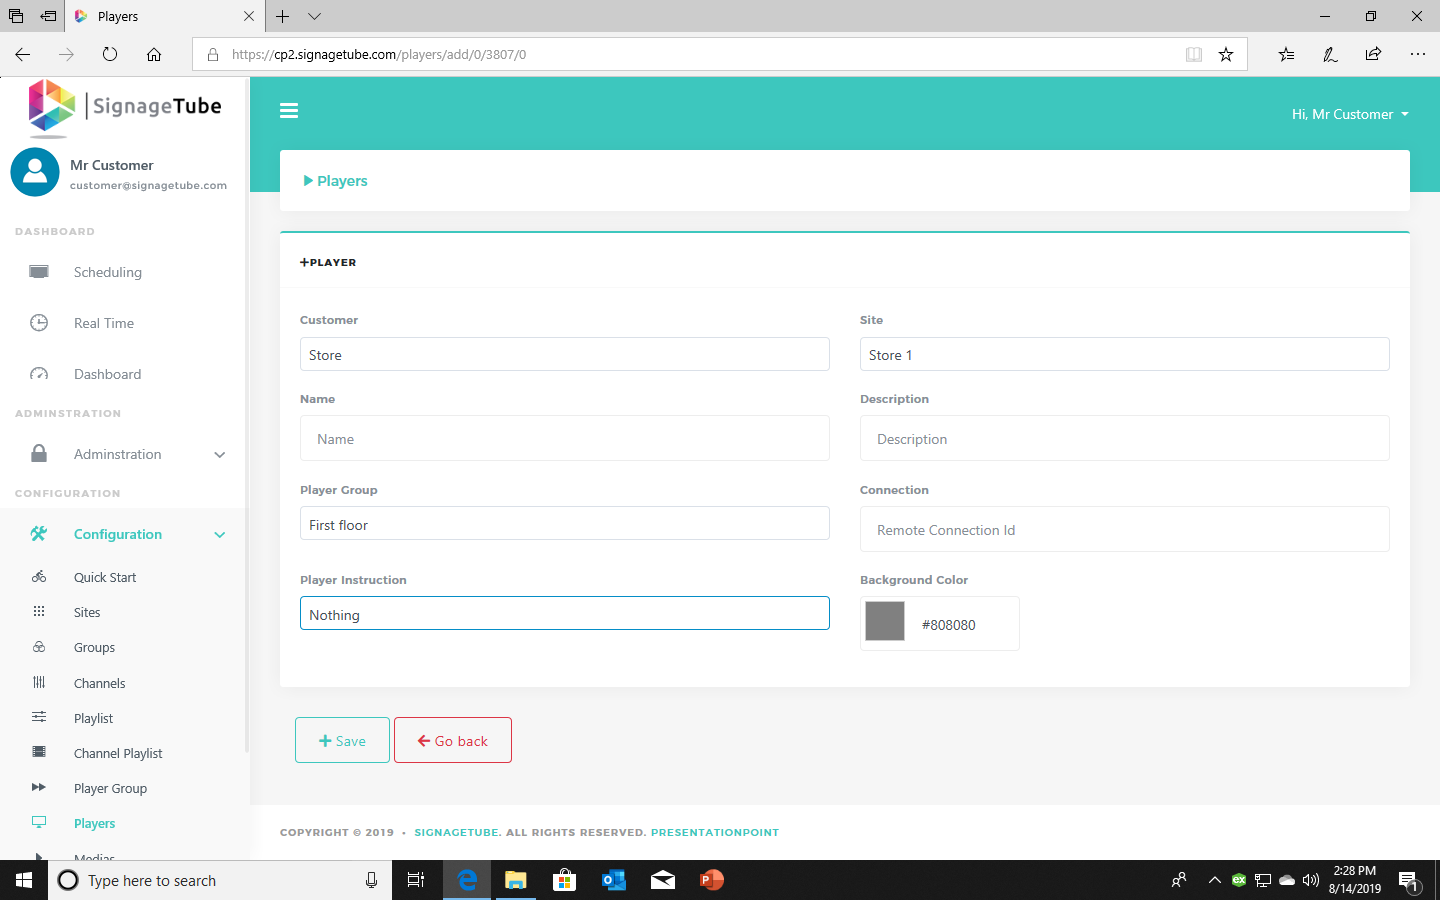
Then click the pencil icon to edit “My Player”. You will see some other information about your player and a field with “Remote Connection ID”.

Go back to the scheduling page. Check if your media file is ready, you get a notification in your mailbox.
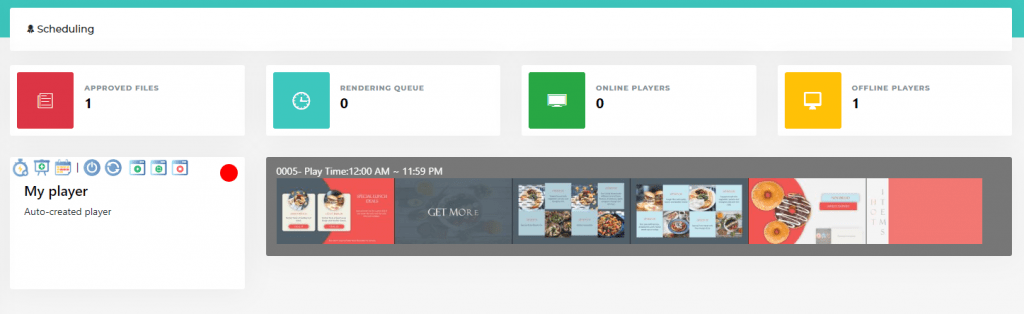
Now your display should start showing your presentation in a minute.
Go ahead in our documentation to find out more about complex setups and more settings.
On this page you add your devices that you are going to play the media files on.
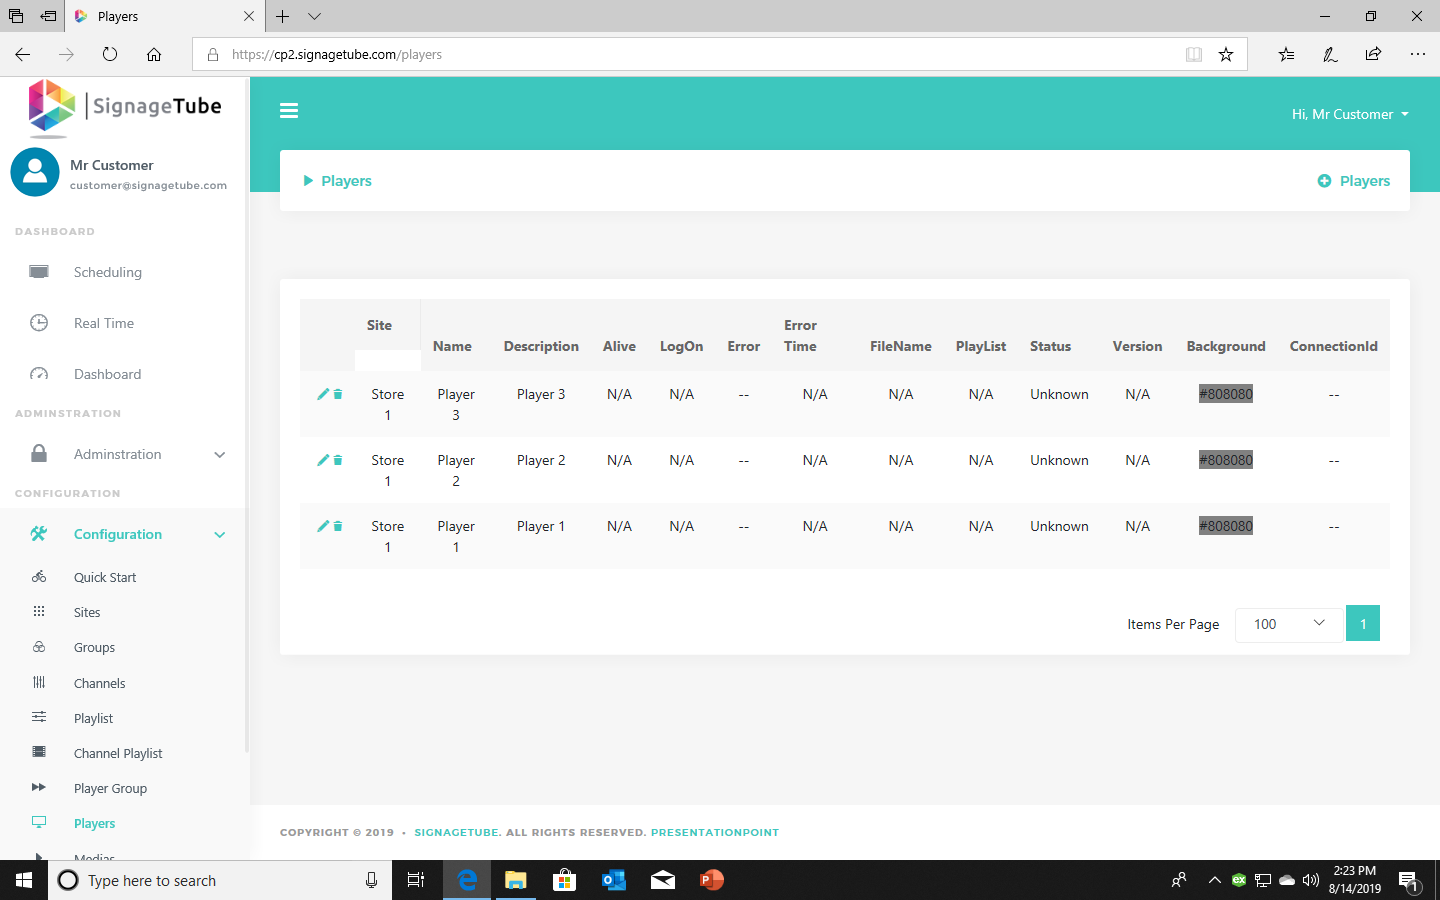
Add your player to your site and player group and make sure to connect it via your connection ID.

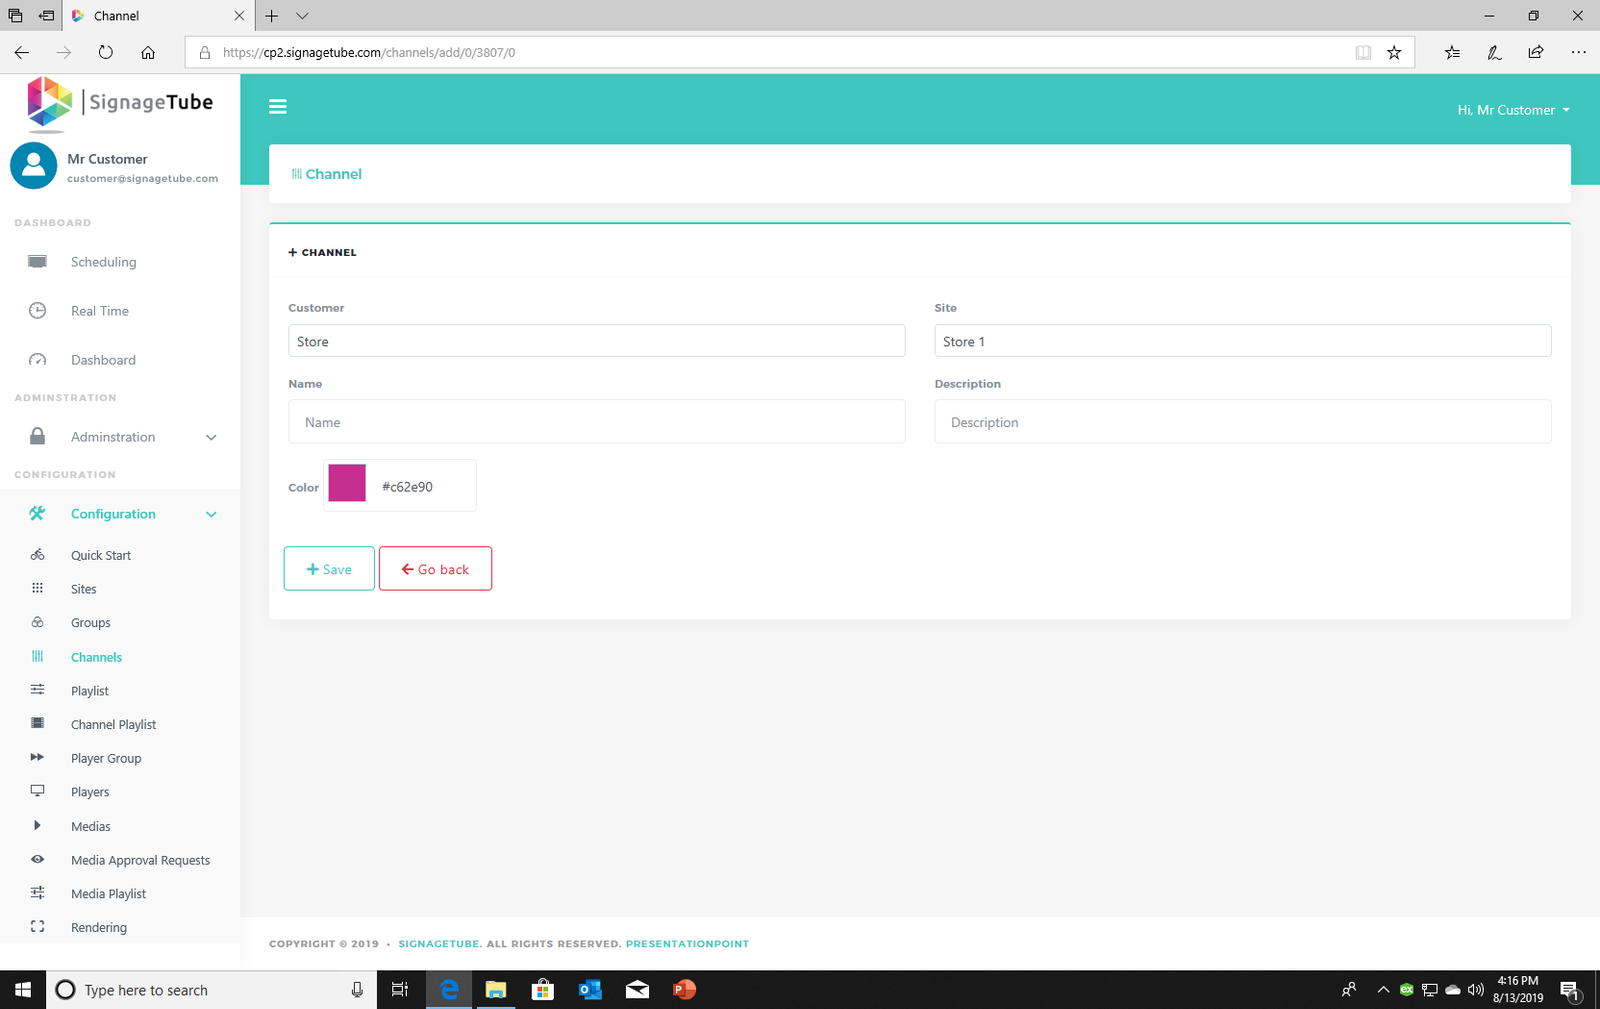
Add channels to your players to show different presentations on different days and or times.
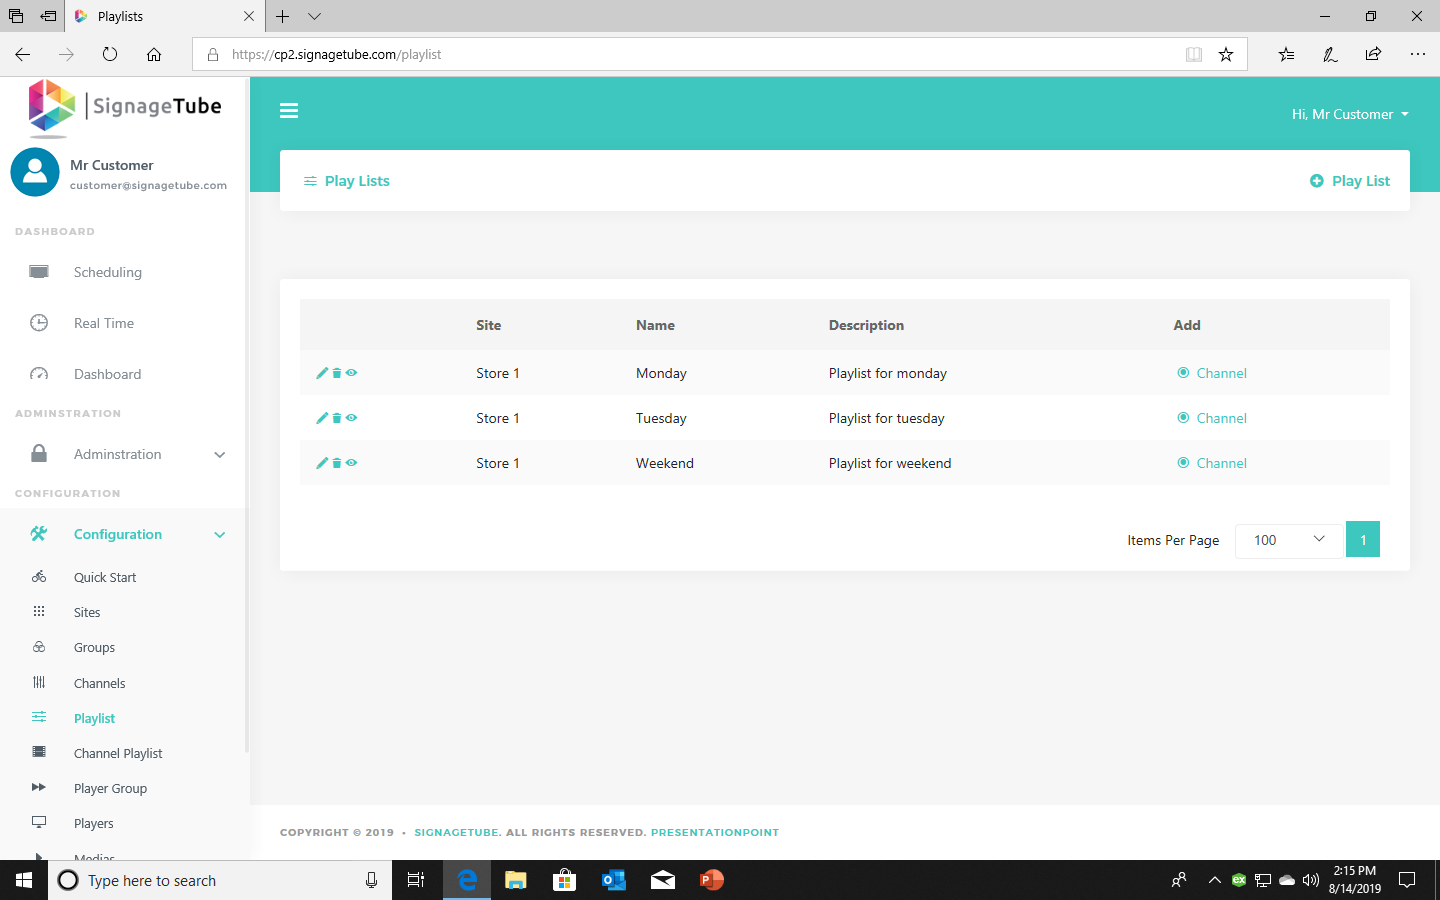
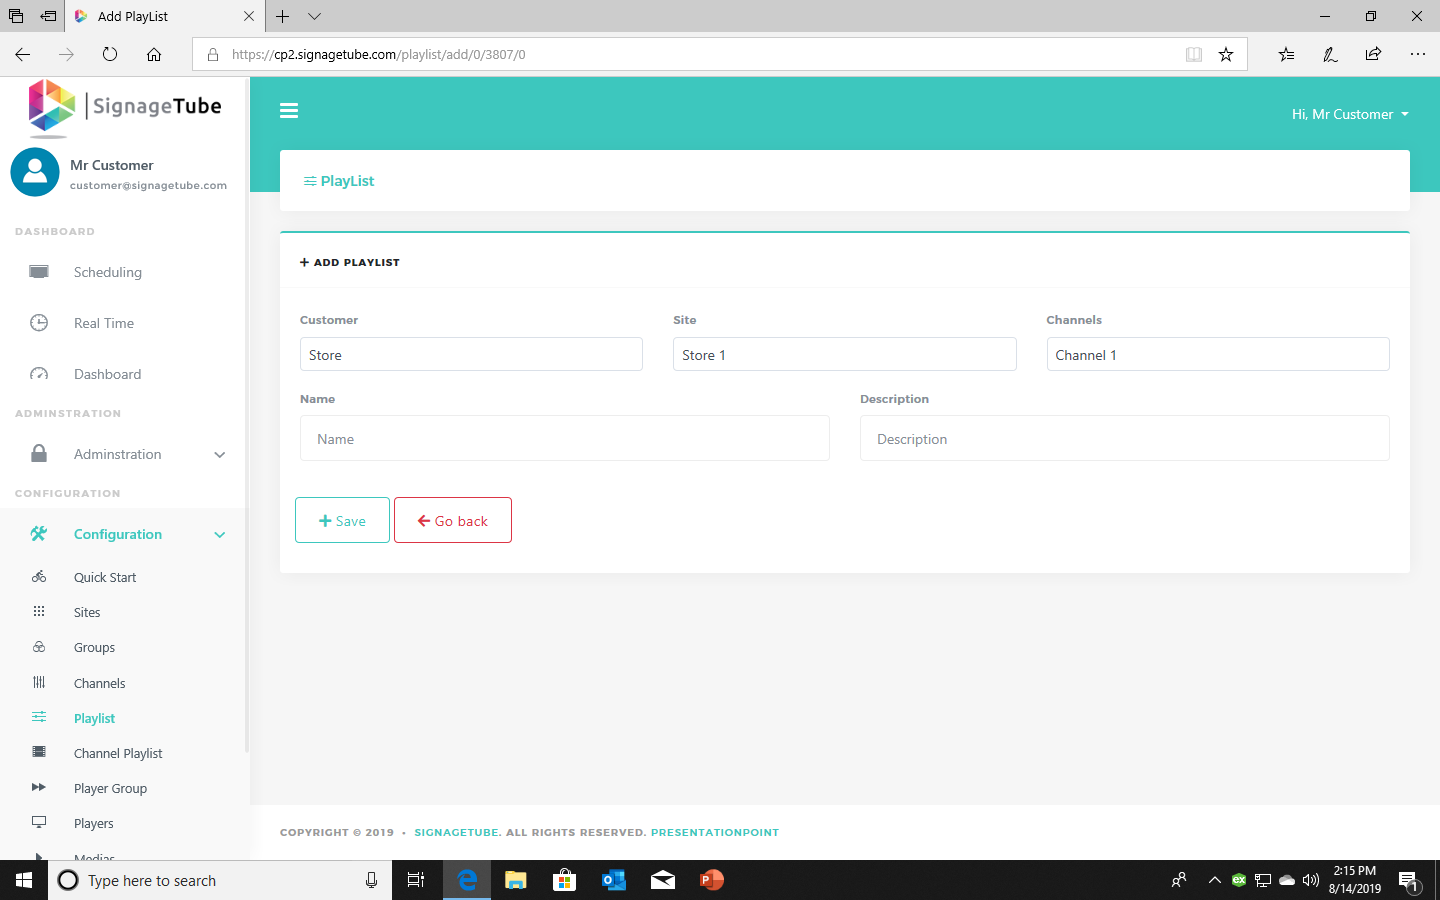
You can create playlists with one or more presentations. You can put these playlists into channels and schedule them.
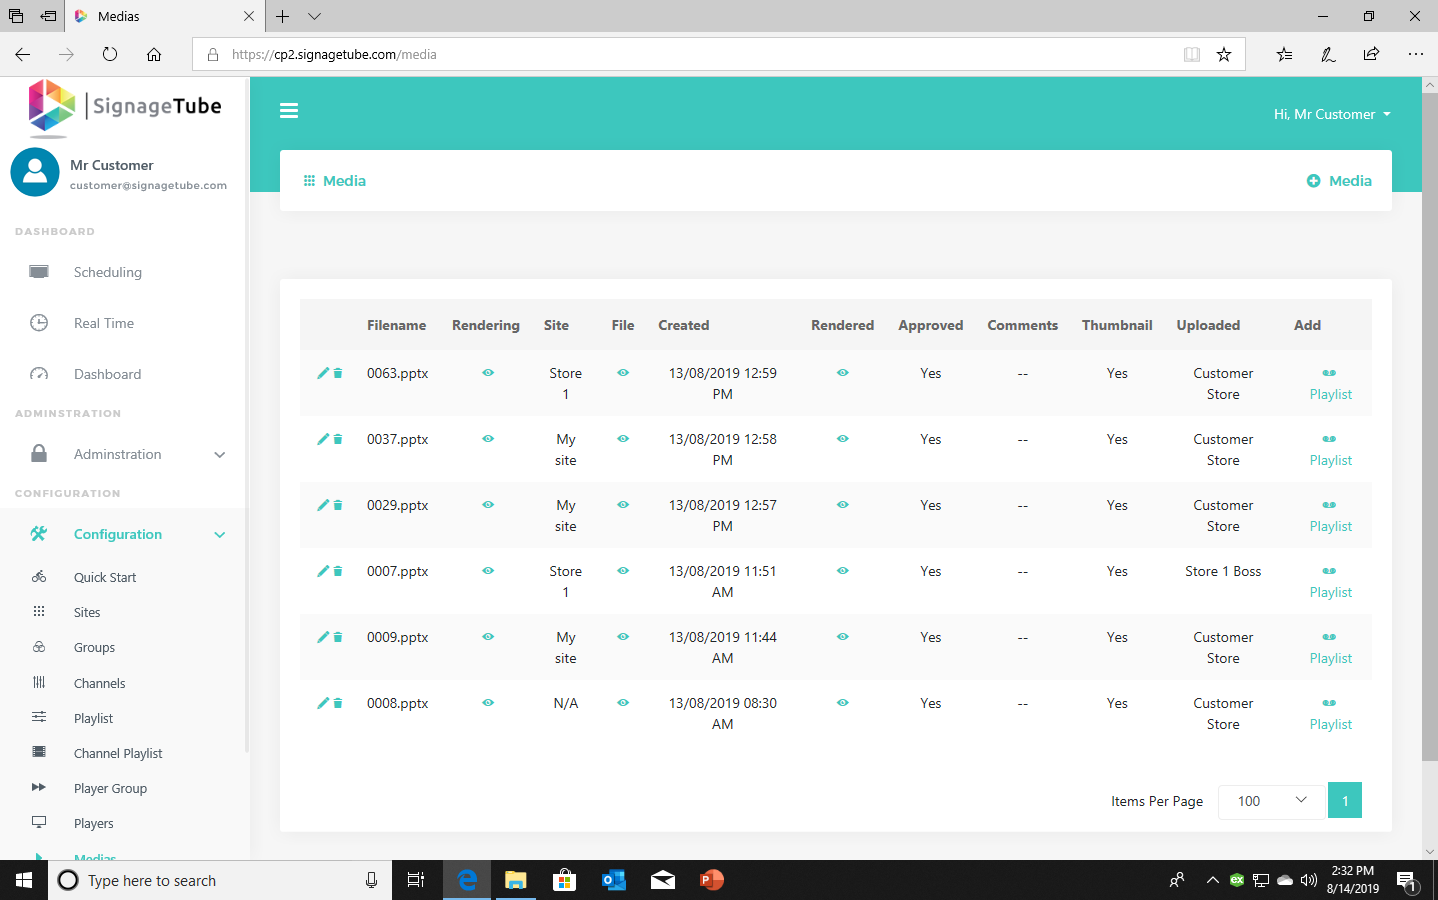
The presentations you added via Quick Start will be added here. You can also add media here and add them to playlists to display them on your monitor.
Keep in mind that it takes a few minutes to render your presentation depending on your file size. You will get notified by an email if your media file is ready to use on your displays.
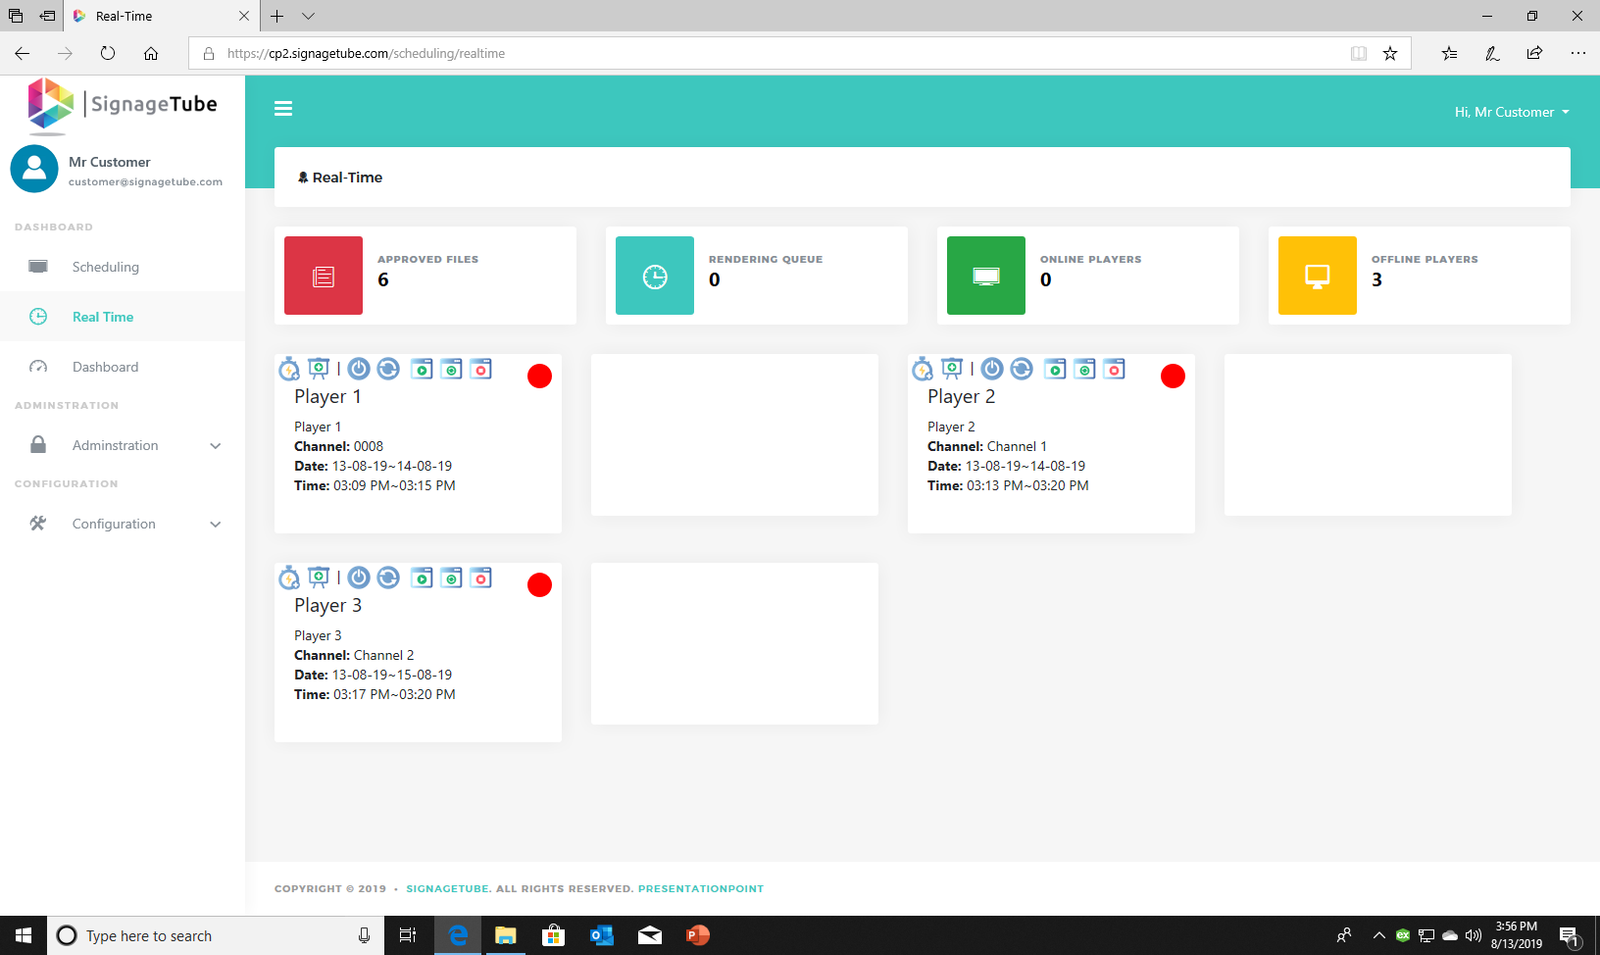
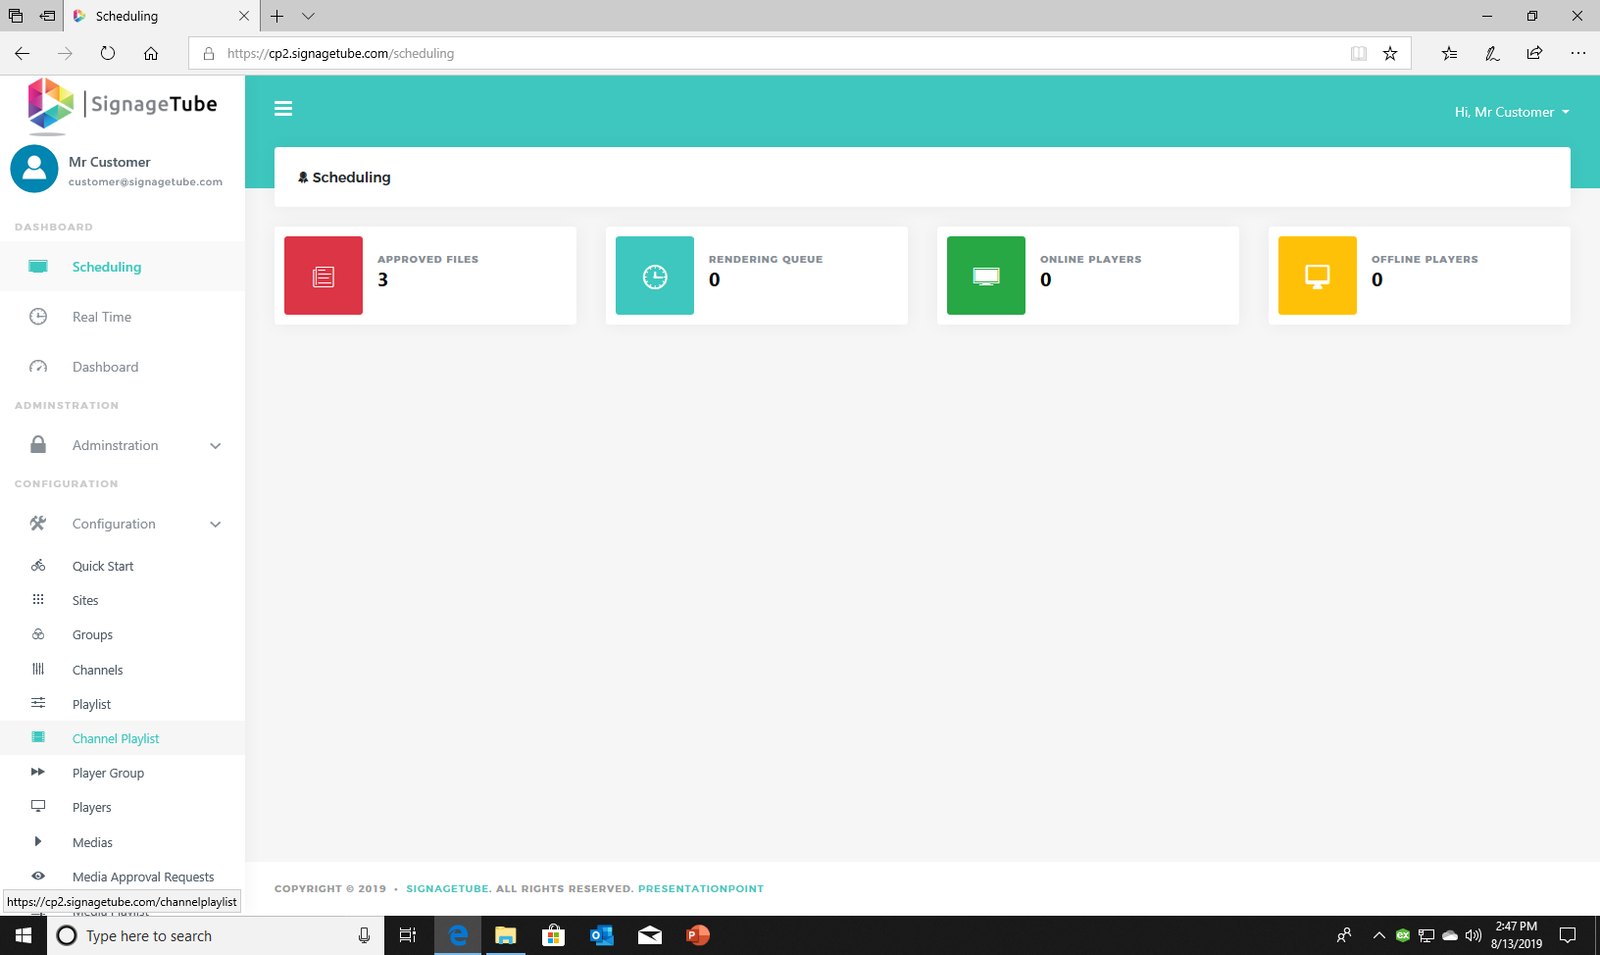
On the schedule page you can see which players you have, if they are online, what they are going to play, and schedule when they have to play.
The icons:
 Quick Start: build your presentation in seconds
 Add a media file from your computer
 Schedule channel: choose the days and time the presentation has to run on the player
 Start or shut down your player device
 Restart your device
 Start your player
 Restart your player
 Stop your player
The red icon means it’s offline. Green means it’s online.
If you’ve scheduled something keep in mind this takes around 1 minute to appear on your display. This is not instantly.
Real time shows all your players and what they are showing right now. If your player is online, the circle is green, and it shows a screenshot from the device taken every minute. Also, here you can click the icons for their task. When hovering over the icon you can see a title popup with what it does.
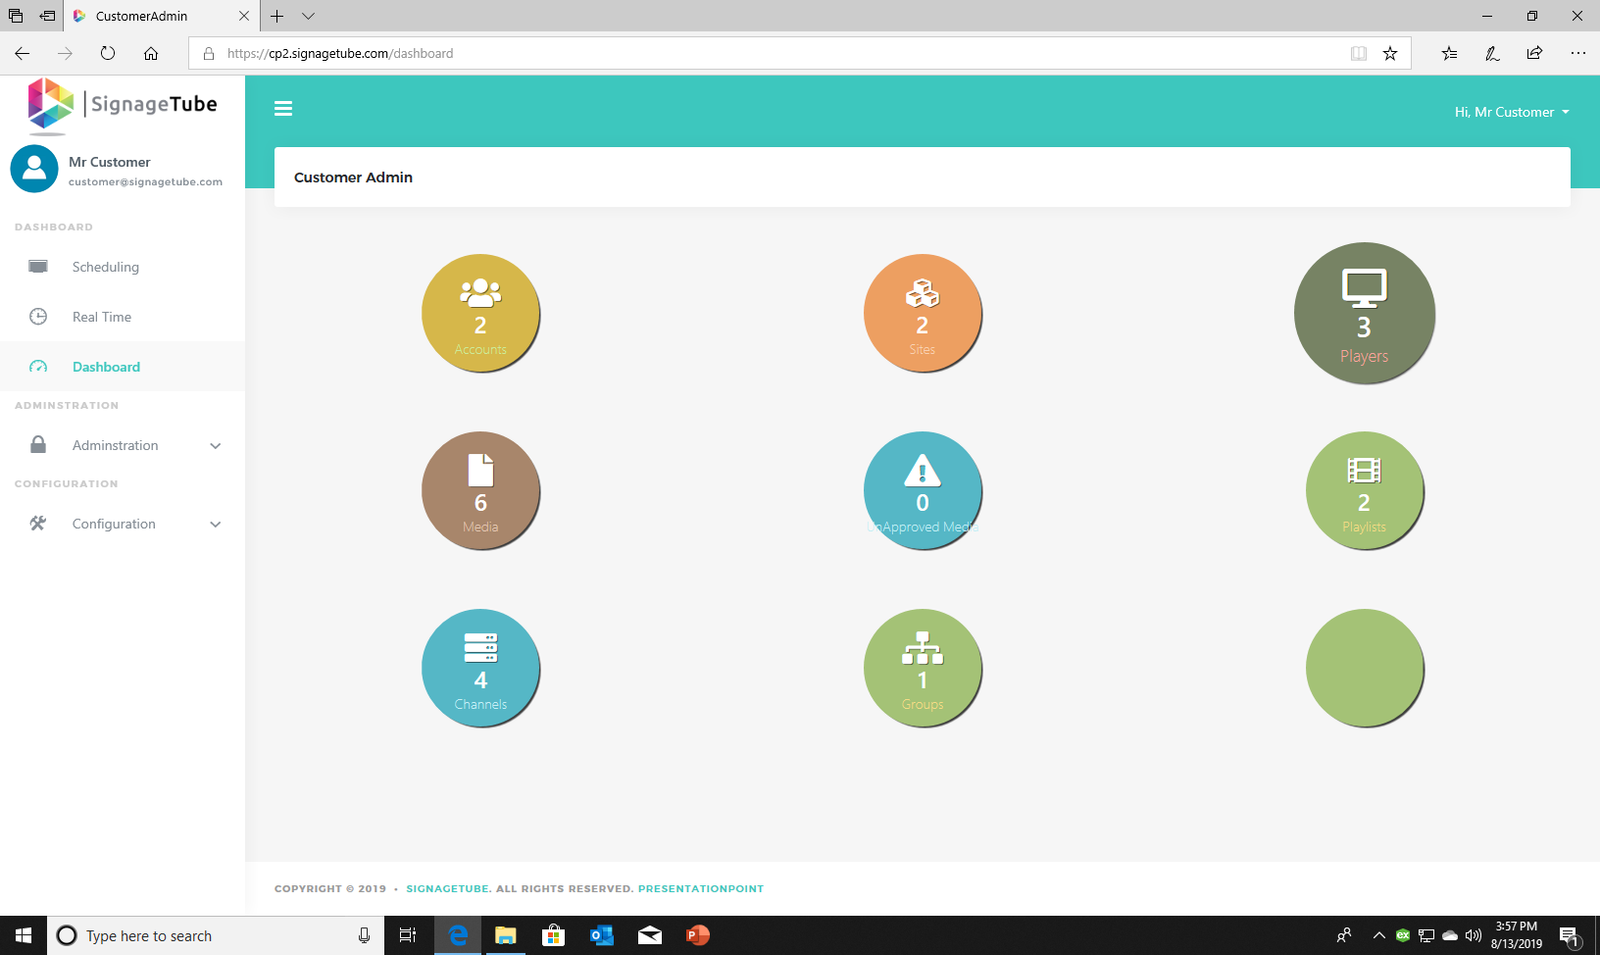
This shows all numbers. How many accounts, sites, players and more…
As a customer, you are the administrator for your company. You have all rights and can manage and edit everything from every site. You can add users to your administration. They have fewer rights than the customer. They can only manage and edit the players and media from their site.
Administration
Click on administration to see the menu
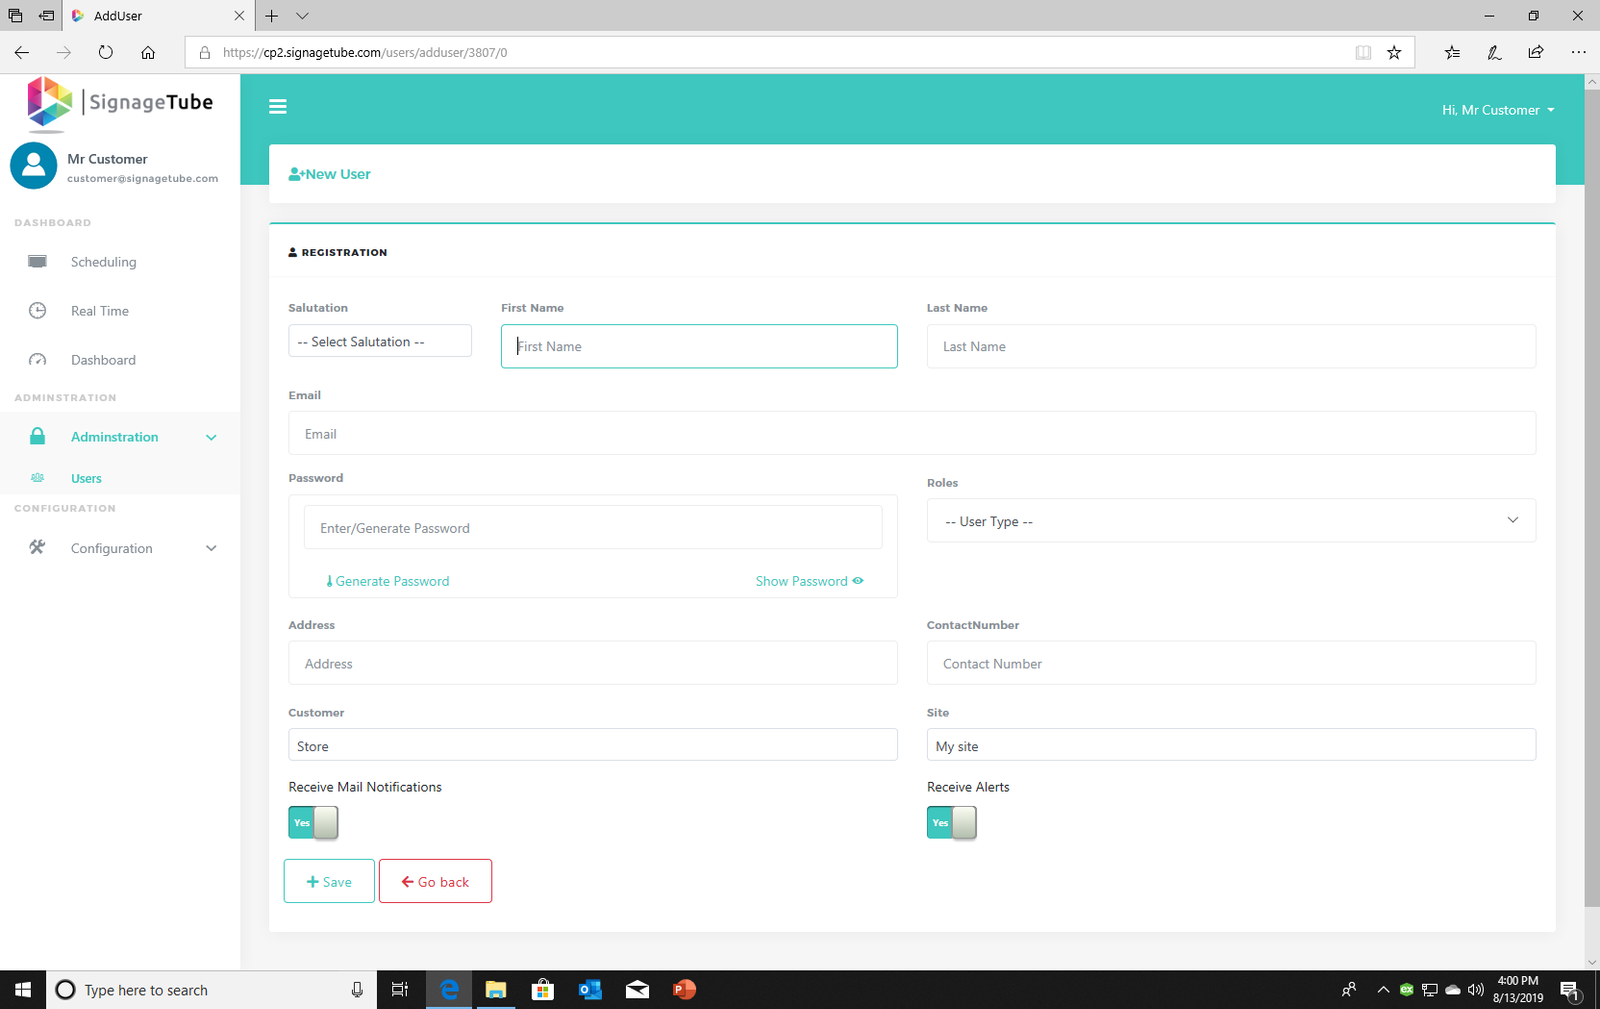
You can add other users on this page. Add the site administrators so that they get a login and can manage their own players in their location.
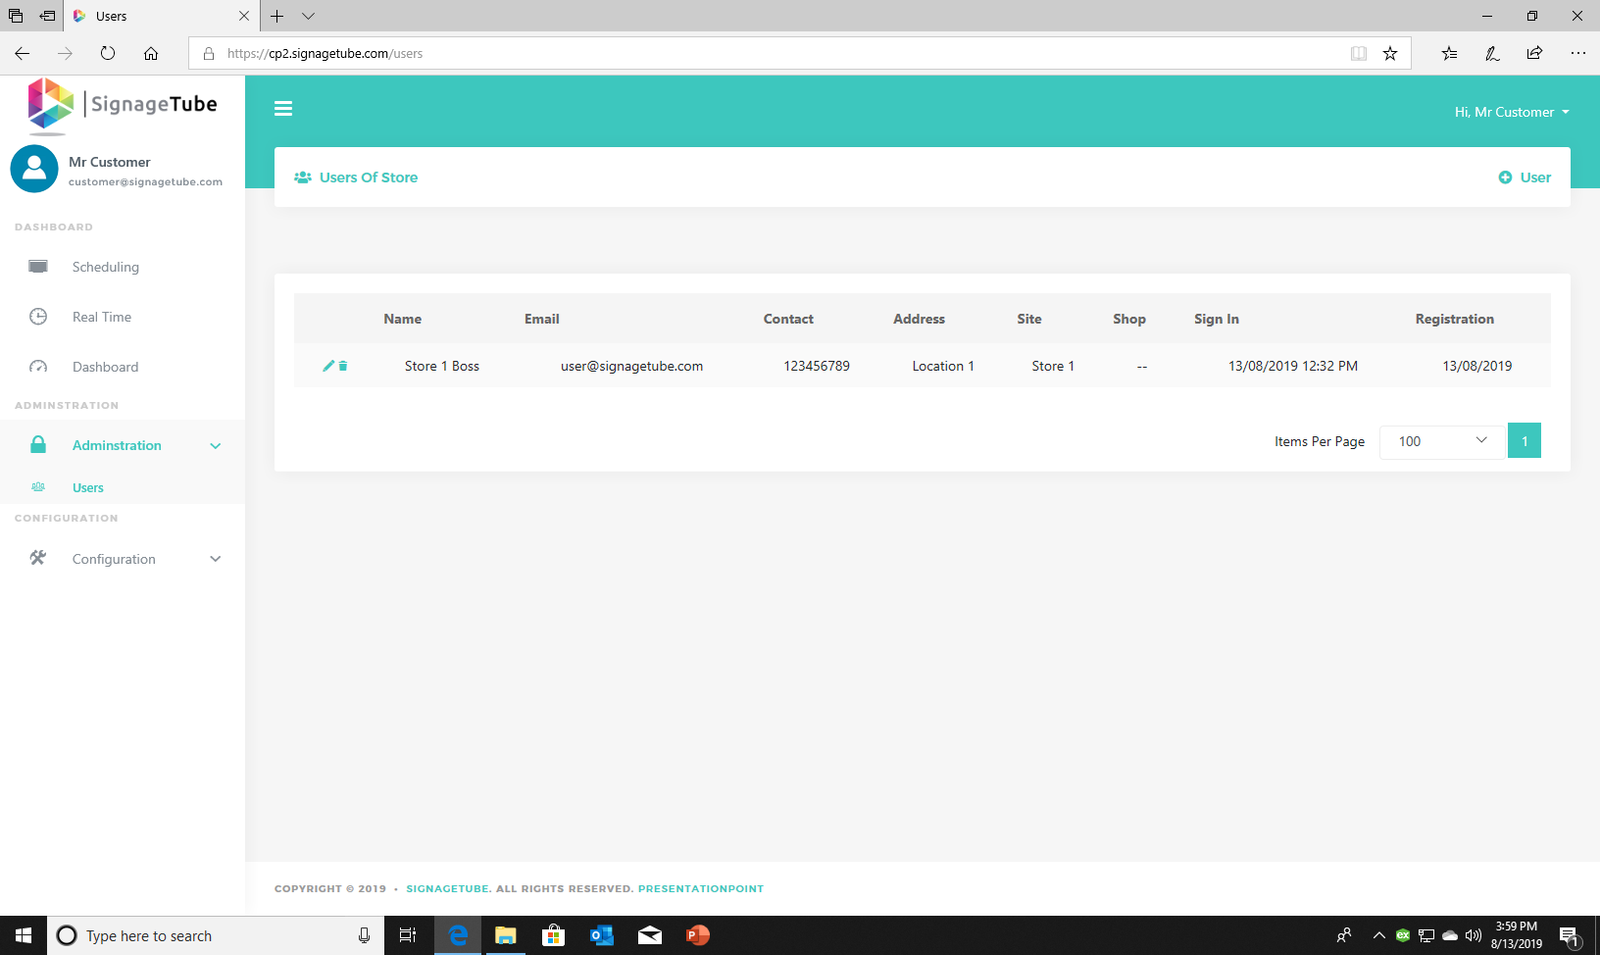
Fill in the form with the correct mail address. The site admin will receive an email with the login information.
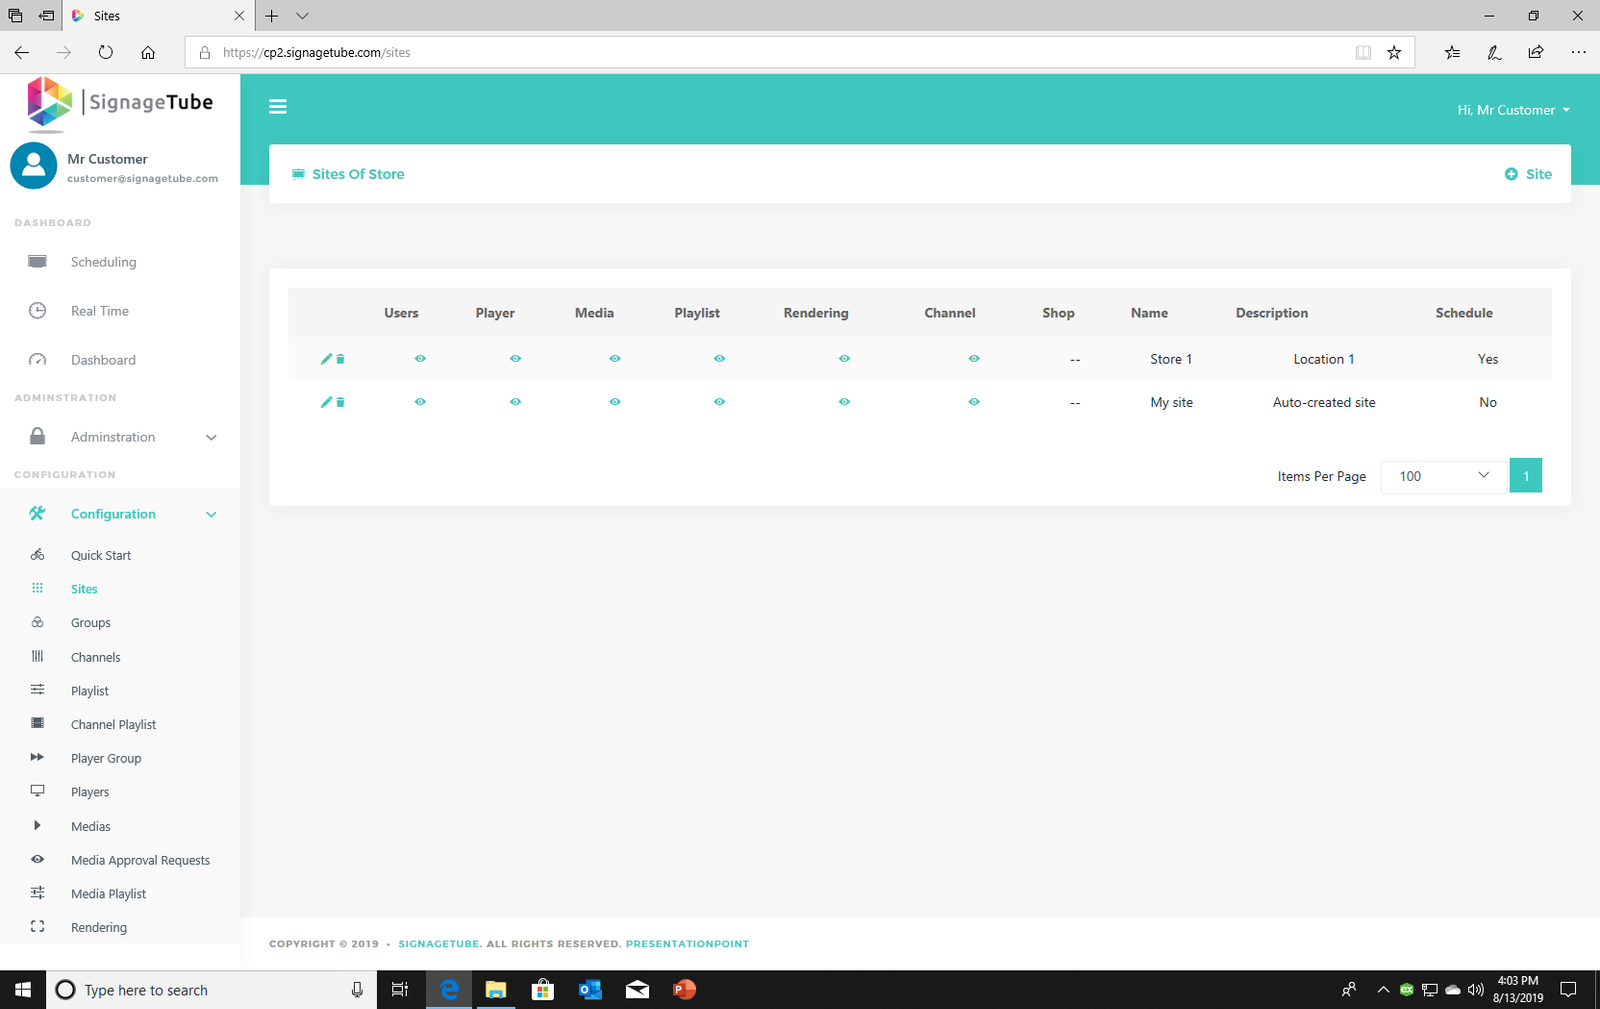
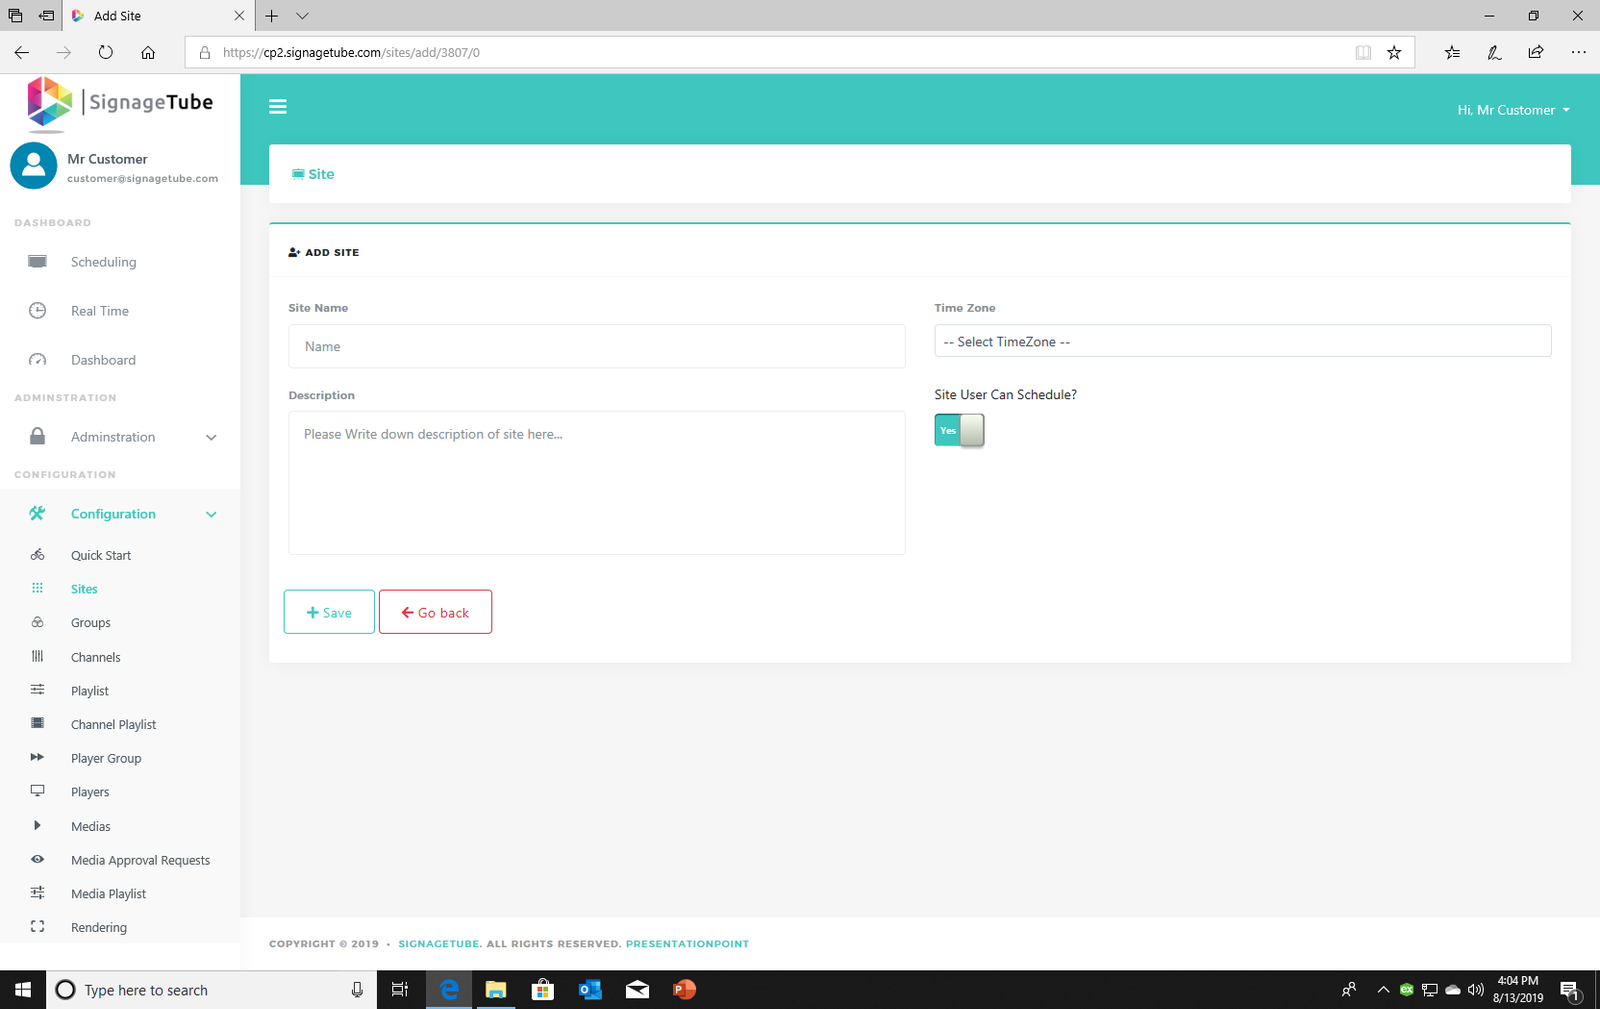
A site is a store or location from your company. In each site, you can add players and different playlists with different media.
Fill in the name and Time zone. Choose if the user can schedule playlists or not.
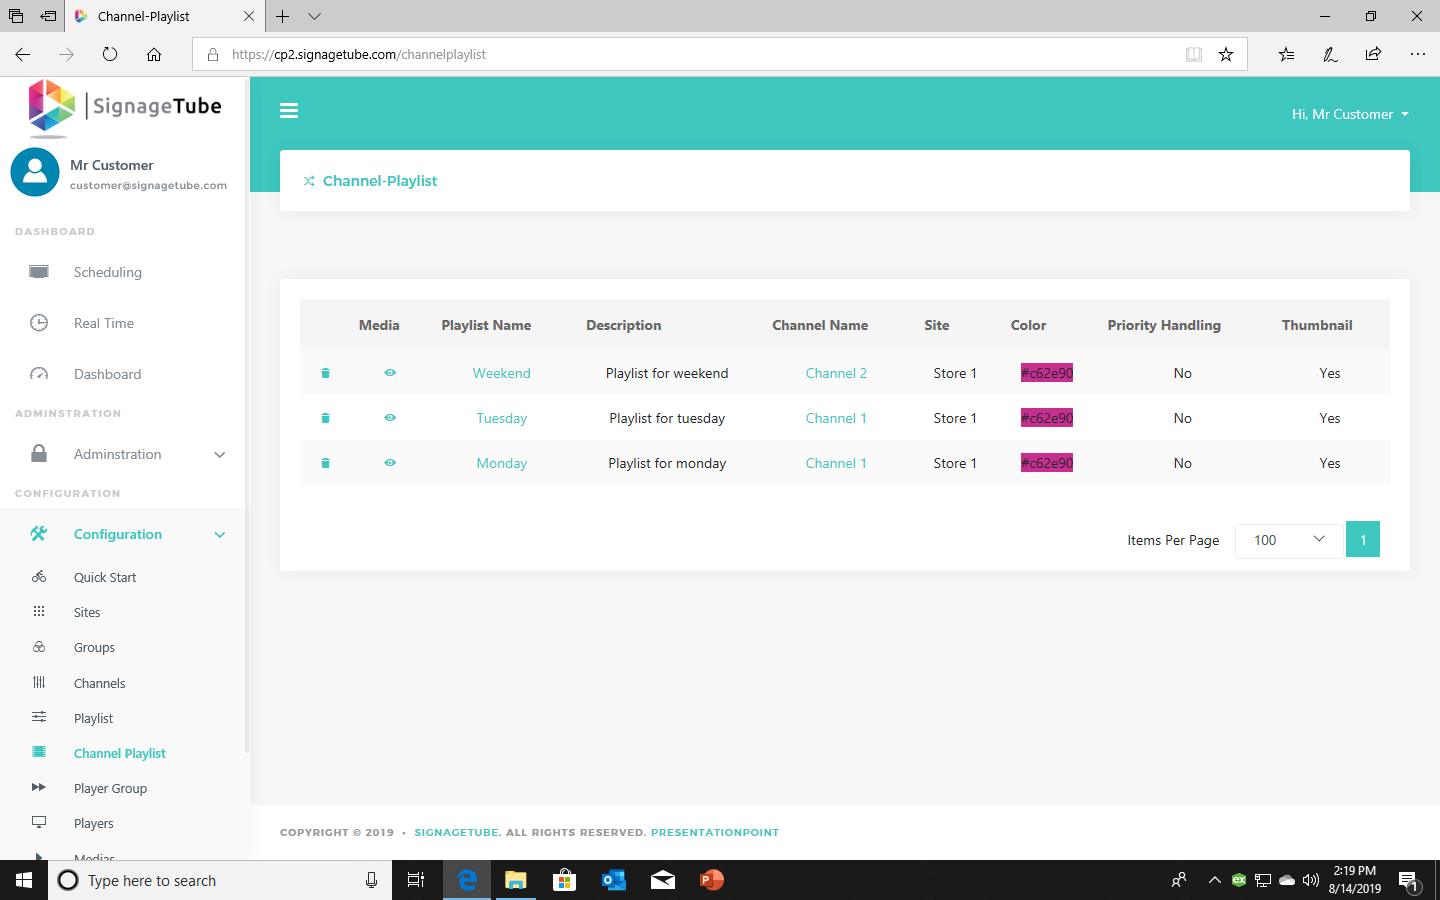
When you add a playlist, you have to choose a channel to put the playlist in. This will be shown in Channel Playlist.
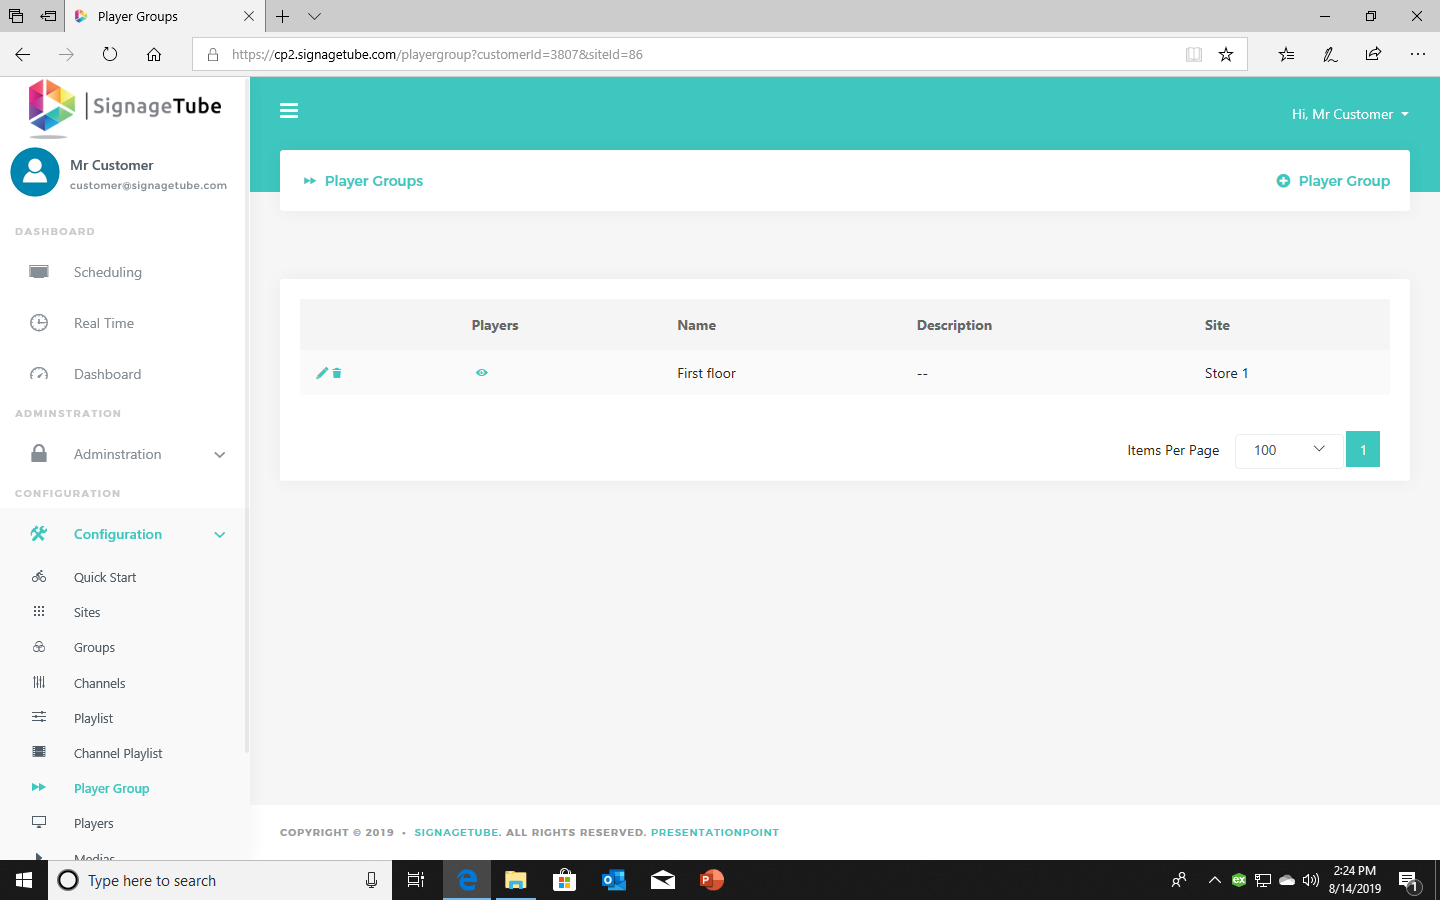
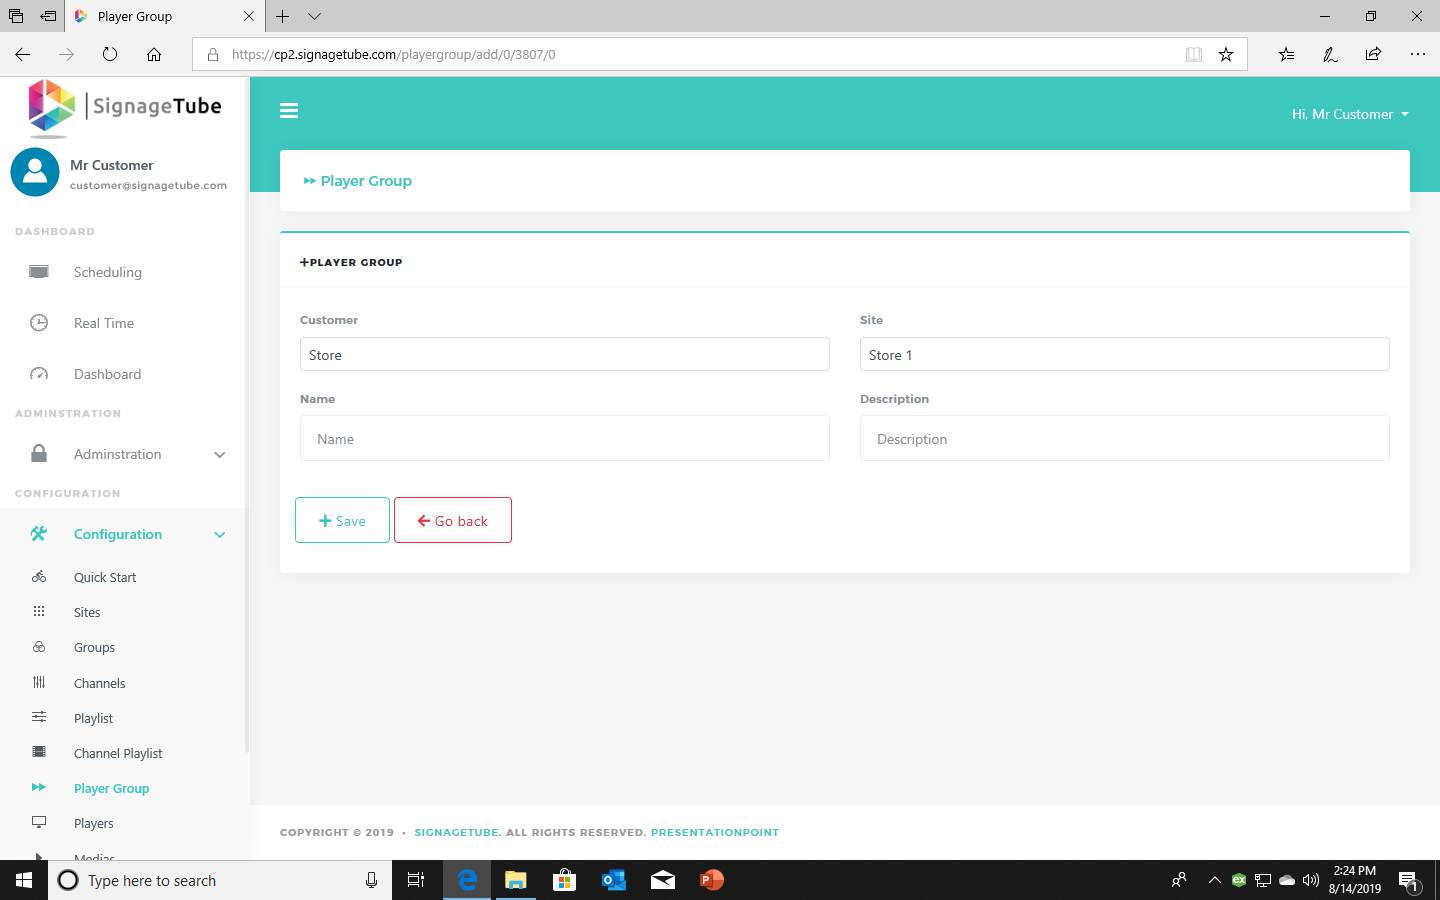
Add players to your player group to group them per floor, sector, or room.
Here you can see which media is added to a playlist.
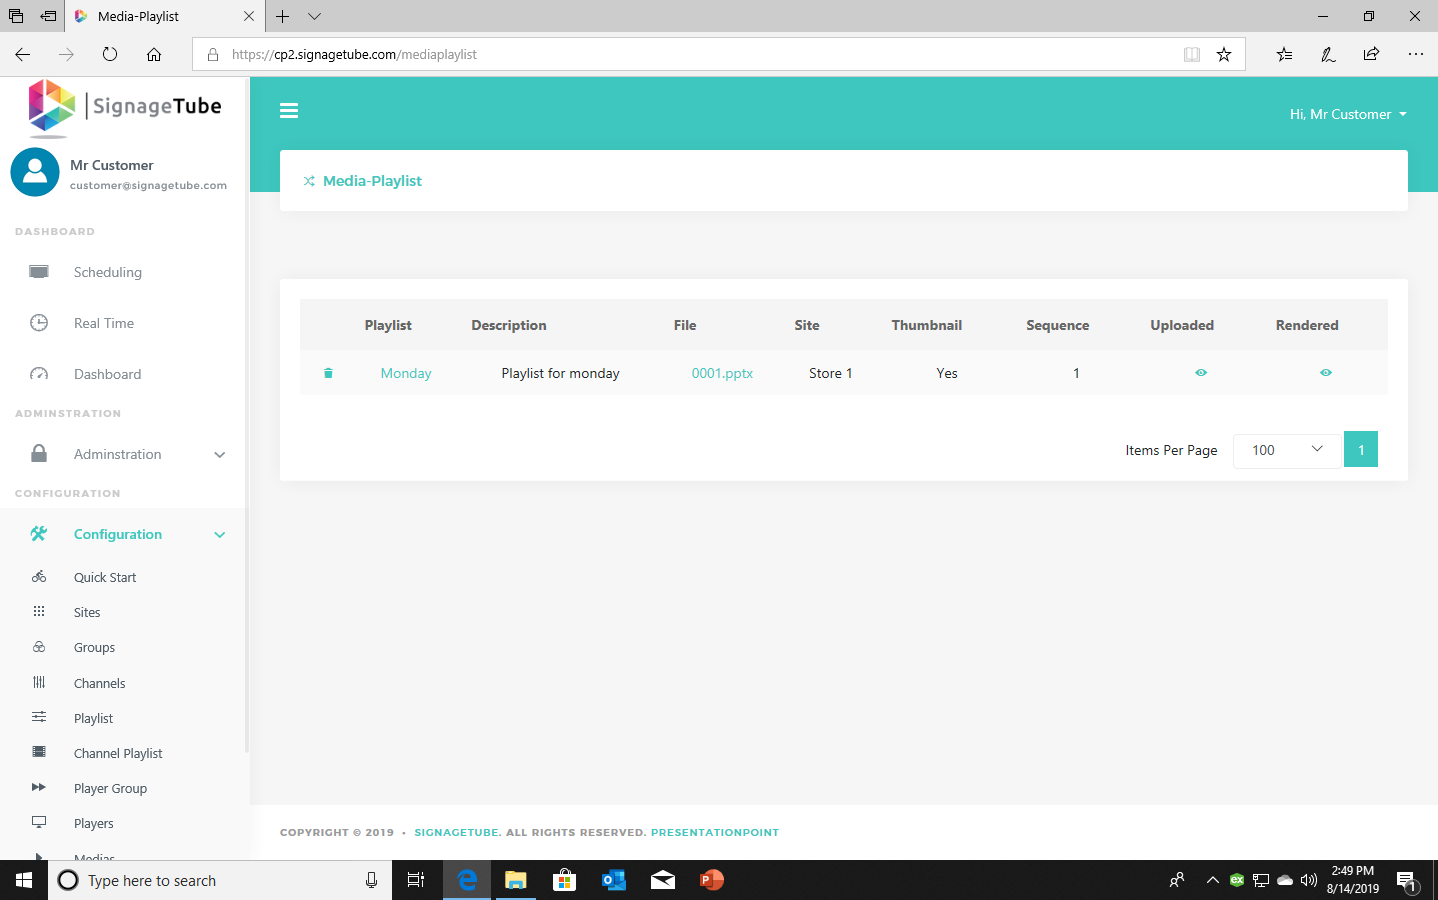
You can add media to playlists when adding a media on the Media page.
On the rendering page you can see which media is already rendered and which one is still rendering.

Pick what you want to try. No credit card needed, just your name and email.
Show your content, menus, welcome screens and promotions. The easiest place to start.
Start Cloud trial →Show live data that updates itself, prices, KPIs and dashboards from Excel and 20+ live sources. All features included.
Start Live trial →Not sure? Start with Cloud, you can switch anytime.
Both include a 7-day free trial. No credit card needed, just your name and email.
