Touch‑screen kiosks don’t have to be complex or expensive. This article shows how you can build a PowerPoint kiosk—an interactive, self-running display—simply by using PowerPoint and SignageTube. Whether you’re a business owner, event organizer, or educator, setting up a PowerPoint kiosk offers an affordable, flexible, and easy way to create interactive displays for your audience. A PowerPoint kiosk is designed to run automatically on an unattended display. In kiosk mode, users cannot skip slides as it is a self-running presentation. This makes PowerPoint kiosks ideal for guiding visitors through menus, maps, product details, or service information without the need for custom software or constant supervision.
Kiosk mode in PowerPoint is a setting that allows your presentation to run automatically in full screen, looping continuously and restricting user interaction to only hyperlinked buttons or actions. This ensures that your content remains secure and consistent, making it perfect for educational material in museums, waiting rooms, reception areas, and trade show booths. With SignageTube, you can easily publish, update, and manage these interactive presentations from the cloud, giving you a professional kiosk experience that’s both cost-effective and easy to maintain.
Overview of PowerPoint Kiosk Mode
One of the most common questions about setting up a kiosk is “how to set up a touch screen kiosk using PowerPoint?” While Microsoft PowerPoint does possess a kiosk option or “Kiosk mode,” it’s important to note that this mode is best suited for environments where the kiosk will be unattended, such as self-service kiosks or information displays. Kiosk mode is suitable for unattended presentations like demos and product displays. To enter kiosk mode settings in PowerPoint, you need to configure the slideshow options under the Slide Show tab.
A simpler approach would be to take advantage of Google Docs features where you can access your PowerPoint presentation using a web browser. However, before exploring alternative methods, we’ll guide you through setting up a touch screen kiosk using Microsoft PowerPoint and show you how to secure those kiosks from external harm. If your kiosk content also needs to run on non-touch displays, our PowerPoint digital signage guide shows the best ways to publish and schedule slides across screens.
Step-by-Step Setup Process
First of all, the whole process of setting up touch screen kiosks using Microsoft PowerPoint is much easier than you might think. Here is a step-by-step process through which you can create and set up your own touch screen kiosks. To access kiosk mode options, locate the Slide Show tab in PowerPoint.
-
Create Your Presentation: Start by creating a slideshow or PowerPoint presentation. Add your texts, graphics, images, and any other media formats required for your presentation.
-
Add Audio or Music: To record a narration for a presentation, your computer requires a sound card and a microphone. If you have an animation that will be played through multiple slides, set the time before a slide is left or progresses automatically. You must set automatic timing if the presentation should change slides without user input.
-
Configure Slide Timings: When configuring certain options, PowerPoint may open a new window or dialog box for additional settings.
-
Record Narration: The narrator can delve deeper into the subjects rather than just reading out the content of the presentation, but should not discuss unrelated topics while something else is being shown on the screen.
-
Set Up Kiosk Mode: To set a proper touch screen kiosk using PowerPoint, follow the steps below.
Adding Interactivity and Automation
-
The slideshow can be displayed in a window or full screen, depending on your settings.
-
To make your presentation interactive, add buttons for navigation or to control slideshow features.
-
To start the presentation, press the F5 key or another assigned key to begin the slideshow.
-
In kiosk mode, a presenter is not required, as the presentation runs unattended.
-
Slides can advance automatically based on timings or manually by user interaction, such as clicking a button to move to the next slide.
-
For unattended displays, enable continuous looping so the presentation repeats without interruption. To configure a Microsoft PowerPoint presentation for running in a continuous loop, check the ‘Loop continuously until ‘Esc” option.
-
When rehearsing or timing slides, use the repeat function to redo the timing for a slide if needed. You must rehearse and record timings for each slide to ensure proper display duration in kiosk mode. It is recommended to use Rehearse Timings to ensure viewers have enough time to read each slide.
-
At the end of the presentation or rehearsal, you will reach the last slide and can end the show by selecting ‘End Show’.
-
Use the timer and timer controls to set slide durations in seconds for precise automation.
-
You can record narration for selected slides to enhance your presentation.
With these steps, you can ensure your PowerPoint kiosk is interactive, automated, and ready for deployment. Next, let’s look at some common use cases for PowerPoint kiosks.
Kiosk Use Cases
Trade show booths and exhibitions use kiosks to display interactive product catalogs or video loops without staff involvement. A self-running presentation can be used in a booth or kiosk at a trade show or convention. Waiting rooms and reception areas can utilize kiosks to run information loops, such as office hours or company news. There are also free resources and free features available to help you set up PowerPoint kiosks efficiently.
Now that you understand the setup process and potential applications, let’s explore how PowerPoint integrates with touch screen kiosks for even greater flexibility.
Introduction to Touch Screen Kiosks and PowerPoint Integration
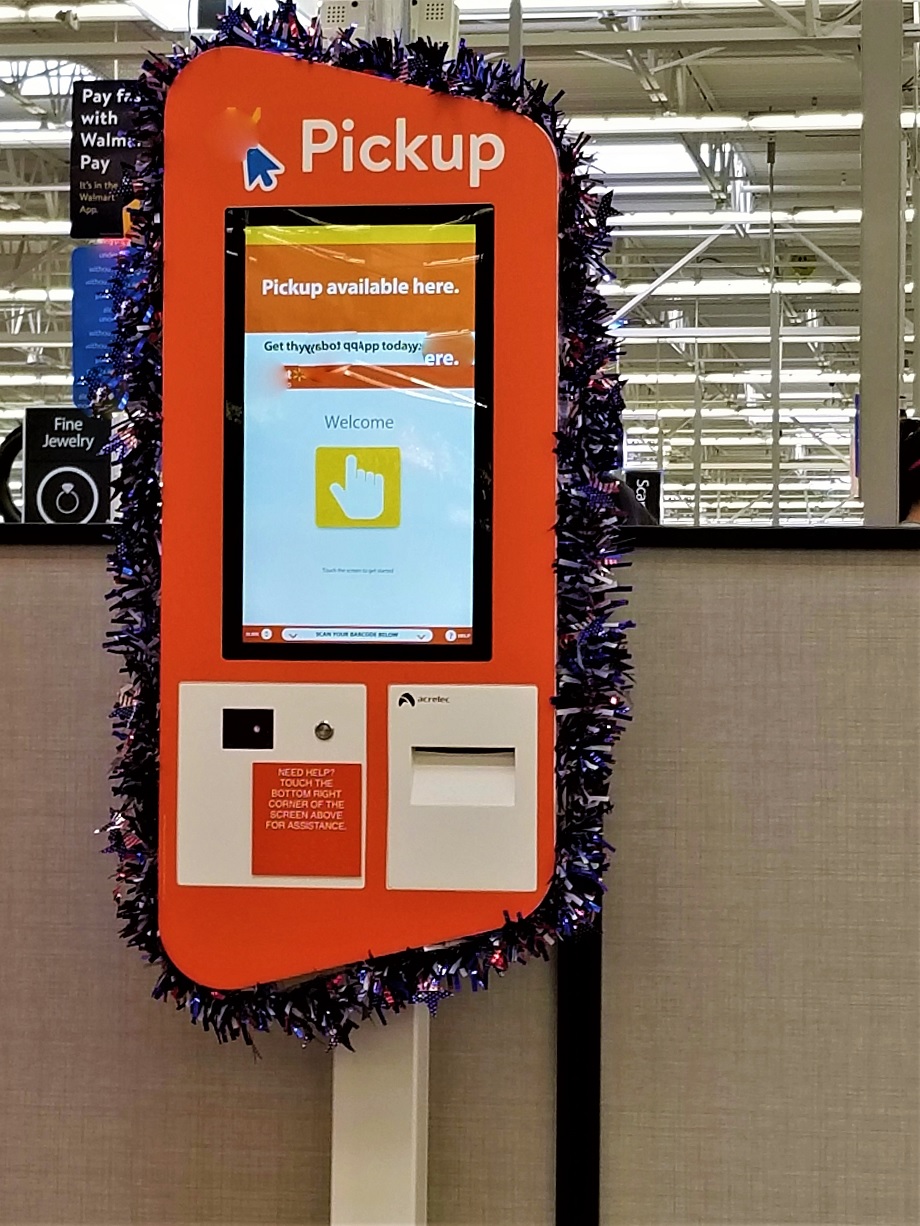
Touch screen kiosks are transforming the way organizations present information in high-traffic environments like trade shows, retail stores, airports, and corporate lobbies. These interactive displays are ideal for business presentations, product showcases, and wayfinding, offering users a dynamic and engaging experience. One of the easiest ways to create content for these kiosks is by using Microsoft PowerPoint—a tool most businesses already know and trust.
With PowerPoint, you can design a self-running presentation for digital signage that takes full advantage of your kiosk’s touch screen capabilities. By using the Slide Show tab, you can set up your presentation to run in kiosk mode, ensuring it displays in full screen and loops continuously without manual intervention. This is perfect for situations where your presentation needs to run unattended, providing a seamless and professional display for your audience.
To get started, simply create your PowerPoint presentation with all the necessary slides, transitions, and multimedia elements. You can follow a step-by-step guide to using PowerPoint for stunning digital signage to optimize these design choices. Then, use the Set Up Slide Show menu to select the “Browsed at a kiosk (full screen)” show type. This option configures your presentation to loop continuously and prevents users from accidentally exiting the slide show. For even more control, the Rehearse Timings feature lets you set the timing for each slide, so your content advances automatically at the perfect pace.
Once your presentation is ready, save the file and copy it to your kiosk device. With just a few clicks, you can have your PowerPoint presentation running in kiosk full screen mode, ready to engage users and deliver your message effectively. Remember to test your kiosk show thoroughly to confirm that all slides, timings, and interactive elements work as intended before deploying it in a public setting.
By leveraging the right tools and features in Microsoft PowerPoint, you can create a powerful, interactive kiosk display that captures attention and communicates your message with impact. If you also plan to repurpose this content as digital signage, a complete guide to using PowerPoint for digital signage will help you design slides that work equally well on non-touch displays. Whether you’re presenting at a trade show or providing information in a lobby, PowerPoint makes it easy to set up a professional kiosk show that runs smoothly and impresses your audience.
With this integration in mind, let’s summarize the key features and steps involved in setting up PowerPoint kiosk mode.
Key Features and Steps of PowerPoint Kiosk Mode
Setting up a PowerPoint kiosk involves several important steps and features to ensure your presentation runs smoothly and securely:
-
Browsed at a Kiosk (Full Screen): To set up kiosk mode, select ‘Browsed at a kiosk (full screen)’ under Show type in the Set Up Slide Show options. This ensures your presentation runs in full screen and cannot be exited by users.
-
Self-Running Presentation: A PowerPoint kiosk is designed to run automatically on an unattended display, making it ideal for public spaces and events.
-
Restricted Navigation: In kiosk mode, users cannot skip slides as it is a self-running presentation. Navigation is only possible via hyperlinked buttons or actions you include in your slides.
-
Interactive Elements: You can include action buttons or hyperlinks for users to navigate in kiosk mode, while other interactions are disabled. This allows for controlled interactivity, such as navigating to specific sections or returning to the main menu.
-
Continuous Looping: Enable the ‘Loop continuously until Esc’ option to ensure your presentation repeats automatically.
-
Automatic Slide Timings: Set automatic timings if the presentation should change slides without user input, ensuring a seamless viewing experience.
With these features in place, your PowerPoint kiosk will provide a secure, interactive, and professional display for any environment. Next, let’s look at how to enhance your presentation with audio and narration.
How to add music or audio to your presentation
You can add background music in your presentation by following the simple steps provided below, which is also a best practice when creating PowerPoint-based digital signage that needs to run unattended:
-
Go to Insert > Select Audio > Audio on My Computer (or any other source of your preference).
-
The source of your audio file will open, and it will show you the available audio on your computer.
-
Select the audio file from the list you want to add and then click on insert.
-
The audio file will be attached to your presentation, and a speaker sign will appear in the middle of your presentation, which is an indication of the fact that the audio file has been attached successfully. Click the icon and drag it to somewhere so that it won’t mess with the rest of your display content.
-
When you click on the speaker icon, two new options will appear in the menu: Format and Audio Playback.
-
Through the format tab, you can select the design that goes with your project.
-
Using the Playback option, you can customize the audio file with respect to the slideshow you have prepared.
-
Now go to the audio option and choose the following:
-
Start: Automatically
-
Volume: Low
-
Also, don’t forget to check the following boxes:
-
Play Across Slides
-
Loop Until Stopped
-
Hide During Show
-
This will ensure that the music won’t stop as long as the presentation is running.
-
With your audio configured, you can further enhance your kiosk by setting up your music devices and microphone.
Configure your music devices and a microphone
-
Attach a microphone to your device and configure all the available music devices.
-
Plug the microphone into the red stereo-in jack (which can mostly be found in the back of the computer).
-
After configuring the speakers, open your control panel.
-
Now select the Hardware and Sound option.
-
Hardware and Sound > Manage Audio Devices.
-
Now look for the recording tab, then click on it. Then highlight the microphone and select OK.
-
To ensure all of your devices are working properly, play the audio in your speakers and talk into the microphone.
Once your devices are set up, you can add voiceover narration to your presentation for a more engaging experience.
Also, use voiceover narration
The voiceover narration can be added to the entire presentation. In this case, you can add voice narration to the entire presentation in one go, or you can add them in each slide. Both methods are proper ones, but it will depend on your project to find out which method will suit you the best. Before adding the voiceover, you can write a script for each slide to reduce errors and save your valuable time, especially if you later convert the presentation into PowerPoint digital signage for lobby or hallway displays.
With your audio and narration in place, the next step is to configure your presentation settings for kiosk mode.
Configuring Presentation Settings for Kiosk Mode
Setting up your Microsoft PowerPoint presentation for kiosk mode is essential when you want your content to run unattended in full screen, whether at a trade show, in a corporate lobby, or across multiple business presentations. To begin, open your PowerPoint file and navigate to the Slide Show tab in the Ribbon. Here, you’ll find all the tools needed to transform your standard presentation into a self running presentation designed for continuous looping and interactive display.
Click on the Set Up Slide Show option within the Slide Show tab. This action opens a new window where you can configure the show type. For kiosk applications, select the “Browsed at a kiosk (full screen)” option. This setting ensures your slideshow will display in kiosk full screen mode, preventing users from exiting the presentation and allowing it to run unattended. It’s the ideal choice for situations where you want your PowerPoint presentation to loop continuously and maintain a professional appearance on any screen.
Within the same Set Up Slide Show menu, you’ll see an option labeled “Loop continuously until ‘Esc’.” Check this box to enable continuous looping, so your presentation repeats automatically from the last slide back to the first. This feature is especially useful for kiosks and cloud-managed digital signage displays that need to operate for extended periods without manual intervention.
Once you’ve chosen your show type and enabled looping, click OK to apply these settings. Next, use the Rehearse Timings feature, also found in the Slide Show tab, to fine-tune how long each slide appears on screen. When you select Rehearse Timings, a timer will appear, allowing you to advance to the next slide, pause, or repeat the timing for any slide as needed. These timer controls help you create a seamless viewing experience, ensuring your content flows at the right pace for your audience.
After setting your timings, save your presentation as a PowerPoint Show file (.ppsx) by going to the File menu and choosing Save As. This file type launches directly into slideshow mode, making it perfect for kiosk displays where you want the presentation to start automatically in full screen and can later be used as the source for PowerPoint digital signage across your business.
With your presentation settings configured, you are now ready to finalize your kiosk setup and deploy your presentation.
Finally, set up the slide show as a touch screen kiosk
To complete your PowerPoint kiosk setup, follow these final steps:
-
Go to the Slide Show tab and open the Setup Slide Show menu.
-
Select the Browsed at a kiosk (full screen) radio option and then click OK.
-
To view the complete kiosk presentation, click the F5 function key.
-
If the presentation requires any correction, edit wherever needed and save the final file.
-
Ensure your slideshow timing is set correctly so that it doesn’t get stuck while running.
-
Your presentation is now ready for display.
To keep your presentation secured, you can download kiosk software that can protect you from any external harm. If your use case requires live data such as news, KPIs, or social feeds, consider extending your setup with real-time digital signage. If you follow the above-mentioned instructions, you can easily make a slideshow presentation for your touch screen kiosk without any help from any other software.
With your PowerPoint kiosk fully set up, you can now deliver engaging, interactive, and secure presentations in any environment.