PowerPoint as Video: How to Turn Your Slides into Ready-to-Play Videos

Introduction
Modern PowerPoint versions—2016, 2019, 2021, and Microsoft 365—can export your slides as full MP4 video files, and each version supports this feature. This isn’t a workaround or a screen recording. It’s a built-in feature that lets you convert PPT presentations directly into video, making it easy to turn your PPT file into a dynamic video. The result is a standalone movie that captures every animation, transition, and narration into a universally playable video format and can be watched independently.
PowerPoint includes a built-in feature for transforming slides into a video presentation. This means you can easily export your presentation as a video file without needing any third-party tools or complicated workarounds.
Additionally, AI tools can help summarize and transform your PowerPoint presentations into narrated videos quickly and easily, using AI-powered voices, avatars, and editing features to enhance your video creation process.
What This Means for Your Business
These exported videos work perfectly for digital signage, in-store advertising, social media campaigns, info screens, and training modules, and they fit naturally into broader PowerPoint-based digital signage strategies.
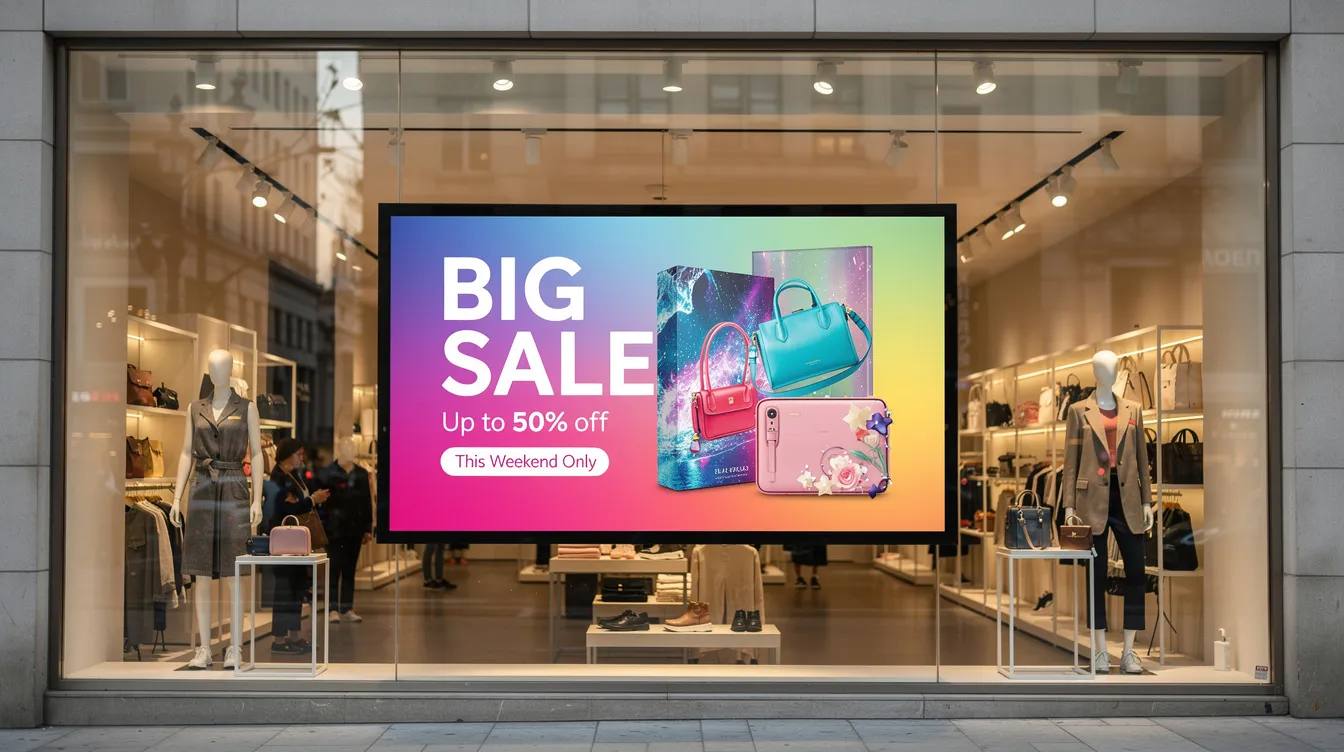
For example, a retail store can use a PowerPoint video to display a looping product promotion on a shop window display, attracting passersby with seasonal offers, especially when the content is designed as a PowerPoint presentation for digital signage.
Other scenarios include lobby welcome screens greeting visitors, event countdowns at trade fairs, or product promos looping in retail spaces throughout March 2026 and beyond.
The video presentation you create plays on any TV, media player, or signage system without requiring PowerPoint to be installed. For teams managing a handful of screens, the manual export workflow works well. But when you’re ready to scale beyond copying files to USB sticks, our signage cloud solution automates the entire rendering and distribution process.
Why Turn Your PowerPoint into a Video?
An MP4 video plays consistently on virtually any device—smart TVs, Android players, USB-stick displays, and dedicated signage hardware. Unlike a live slideshow that depends on PowerPoint software and can stutter on low-end hardware, a video file locks in exact slide timings and eliminates playback variability.
Here are the practical benefits:
- Retail product loops: A 2-minute promo exported at 1080p runs indefinitely on a USB-powered TV with 90% fewer technical glitches than live slide shows.
- Café menu boards: Display daily specials with 10-second dwells, readable from 3 meters away.
- Factory safety instructions: Loop safety protocols on 720p screens for cost-sensitive setups.
- Trade fair info screens: Run 4K countdowns and agenda boards on LED walls.
- Social media and training: Upload directly to YouTube, LinkedIn, or internal portals without any video editor.
The video format is ideal for unattended playback. Set it to loop, walk away, and let it run 24/7.
Preparing Your PowerPoint for Video Conversion
Before you convert your PowerPoint presentation into a video, a little preparation goes a long way toward ensuring a smooth process and a polished final video.
Review and Embed Media
Start by reviewing each slide in your presentation to confirm that all images, audio, and video clips are embedded directly into the file—not just linked. This prevents missing media when you create your video presentation.
Optimize Slide Timings and Transitions
Next, optimize your slide timings and transitions for video playback. Use PowerPoint’s “Rehearse Timings” feature to set precise durations for each slide and to practice your recorded narrations if you plan to include voiceover. This step helps your final video flow naturally and keeps your audience engaged.
Save in the Correct File Format
It’s also important to save your PowerPoint presentation in the .pptx file format before starting the export. The .pptx format ensures compatibility with PowerPoint’s video creation feature and most video converters, reducing the risk of errors during export.
By carefully preparing your slides, transitions, and audio, and saving in the correct file format, you’ll set yourself up for a high quality video that plays smoothly and looks professional on any screen.
How to Export a PowerPoint as a Video (Built-in Feature)
PowerPoint includes a built-in feature for transforming slides into a video presentation. Follow these steps in Windows PowerPoint 2019, 2021, or Microsoft 365 to convert your PowerPoint presentation to MP4. These instructions apply to the desktop version of PowerPoint; using the desktop app is required for full export features.
Step 1: Save Your Work
- Save your work first: Save as .pptx to preserve all edits before starting the export.
Step 2: Navigate to Export
- Navigate to export: Go to File > Export > Create a Video (or use the Recording tab > Export to Video in Microsoft 365).
Step 3: Select Video Quality
- Select video quality:
-
Ultra HD (4K at 3840×2160): Best for large LED walls viewed from 5+ meters.
-
Full HD (1080p at 1920×1080): Ideal for office lobbies and screens under 55 inches.
-
HD (720p): Good for budget setups and smaller displays.
-
Standard (480p): Smallest file size for limited storage.
- Ultra HD (4K at 3840×2160): Best for large LED walls viewed from 5+ meters.
- Full HD (1080p at 1920×1080): Ideal for office lobbies and screens under 55 inches.
- HD (720p): Good for budget setups and smaller displays.
- Standard (480p): Smallest file size for limited storage.
Step 4: Choose Timing Source
- Choose timing source: Select “Use Recorded Timings and Narrations” if you’ve pre-recorded, or set global seconds per slide (default is 5 seconds).
- Note: If you haven’t recorded any timings, you can set the “Seconds spent on each slide;” the default is 5 seconds. If no timings are recorded, the slides default to a 5-second duration during video export. When exporting, you can choose to use recorded timings and narration or set the default duration for each slide.
Step 5: Select File Format
- Select file format: Choose MPEG-4 (.mp4) over Windows Media Video (.wmv) for modern compatibility.
- Note: On some Windows versions, you can simply use File > Save As and change the “Save as type” to MPEG-4 Video (.mp4).
Step 6: Set File Name and Location
- Set file name and location: Pick a destination folder and name your final video.
Step 7: Create the Video
- Click Create Video: Export runs in the background—you can continue working in the app.
- A progress bar at the bottom of the PowerPoint window shows the export status during video creation. PowerPoint does not typically send a notification when the video export is finished; you must rely on monitoring the progress bar.
Export time depends on slide count, animations, and embedded media. A 20-slide deck with transitions typically takes 5-15 minutes on a mid-range PC.
To summarize, to convert ppt to video, use the desktop version of PowerPoint, go to File > Export > Create a Video, select your settings, and monitor the progress bar until the export is complete.

Video Settings and Options Explained
When you’re ready to export your PowerPoint presentation as a video file, you’ll encounter several settings that directly affect your final video’s quality and usability. Understanding these options helps you create high quality videos tailored to your needs.
Video Quality
The video quality setting determines both the resolution and the file size of your final video. Higher resolutions like Ultra HD (4K) or Full HD (1080p) produce crisp visuals but result in larger file sizes, while lower settings like HD (720p) or Standard (480p) create smaller files at the expense of some clarity. Choose the resolution that best matches your display requirements and storage limitations.
Video Format
You’ll also select a video format—typically MPEG-4 (.mp4) for broad compatibility, or Windows Media Video (.wmv) if you need to support older Windows devices. Consider your audience and playback devices when choosing the file format.
Timings and Narrations
Another key option is whether to use recorded timings and narrations. Selecting this ensures your video includes any pre-recorded audio and the exact slide timings you set, resulting in a synchronized, professional presentation. If you prefer to control the pacing manually, you can set a default time per slide instead.
By understanding and adjusting these settings, you can balance video quality, file size, and playback compatibility to create a final video that meets your goals.
Saving as PowerPoint Show vs. Saving as Video
A PowerPoint Show (*.ppsx) opens directly in full-screen Slide Show mode, skipping the editing interface. However, it still requires PowerPoint or a free viewer to play.
Saving your presentation as a video creates a ‘movie’ version that can be watched independently, without needing PowerPoint.
To save as PPSX:
- Go to File > Save As
- Choose your location
- Select “PowerPoint Show (*.ppsx)” from the file types dropdown
To save as MP4 (movie version):
- Go to File > Export
- Select “Create a Video”
- Choose your video quality and timing options
- Click “Create Video” and save as an MP4 file
The MP4 is a different version of your presentation, optimized for playback as a standalone movie file on any compatible device, without PowerPoint.
When to Use Each Format
|
Format |
Best For |
Requires Software |
|---|---|---|
|
PPSX |
Internal training, editable presentations, live presenting |
Yes (PowerPoint or viewer) |
|
MP4 (movie version) |
Shop displays, USB TVs, signage systems, YouTube upload |
No |
For digital signage and advertising, MP4 is almost always the preferred option. A lobby welcome screen crashes without PowerPoint runtime—an MP4 movie version plays natively.
Recording Narration, Timings, and Screen Actions
The Recording tab in PowerPoint 2019+ lets you capture voice, laser pointer movements, and precise slide timings before export.
Using Record Slide Show
Use “Record Slide Show” to run through your entire deck once. Speak your script naturally, click to advance animations, and let transitions play as intended. This creates a complete timing map for your video.
Practical Recording Tips
- Use a USB or headset microphone for cleaner audio—essential for marketing and training videos.
- Enable camera overlay (where available in Microsoft 365) for a picture-in-picture presenter effect.
- Add narration slide-by-slide if you prefer more control over pacing.
When exporting, select “Use Recorded Timings and Narrations” so the MP4 matches your recorded run-through exactly.
What Will (and Won’t) End Up in Your Exported PowerPoint Video
Most modern content exports reliably into your video PowerPoint output, but there are important limitations to consider when you convert ppt files. Understanding what is and isn’t included when you convert ppt to video helps avoid surprises.
Included in the Export
- Text, images, shapes, and embedded fonts
- Slide transitions (fades, wipes, most effects)
- Basic animations (fly-ins, spins, emphasis effects)
- Embedded MP4 files (H.264 video + AAC audio)
- Recorded narrations and background music
Not Included or May Have Issues
- Media inserted in previous versions of PowerPoint will not be included in the final video
- QuickTime media will not be included in the final video unless a specific third-party codec is installed
- Macros will not be included in the final video created from a PowerPoint presentation
- OLE/ActiveX controls will not be included in the final video
- Macros and VBA scripts
- OLE objects and ActiveX controls (rasterized as static images)
- Legacy media from pre-2007 PowerPoint files
- QuickTime-only formats or uncommon codecs on Windows
- Slides export as static frames with limited customization when converting to video using PowerPoint’s built-in feature
- Speaker notes are not automatically narrated in the final video when using PowerPoint’s built-in export feature
Standardize embedded videos to MP4 with H.264/AAC codec for 100% compatibility. If you’re working with an old ppt file, use File > Info > Convert to upgrade before export.
Using PowerPoint Videos for Digital Signage and Advertising
You can design complete advertising loops in PowerPoint and export them as MP4 for any signage player or smart TV, especially if you follow best practices on using PowerPoint for stunning digital signage.
Real-World Signage Scenarios
- Supermarkets rotating 7-12 second offer slides for spring 2026 campaigns
- Real estate agencies displaying property listings in window displays
- Conference venues showing agenda boards and speaker schedules
- Restaurants updating daily specials on portrait-oriented menu screens
Technical Recommendations
- Resolution: Use 1920×1080 for standard screens, 3840×2160 for premium LED walls
- Aspect ratio: 16:9 landscape for most displays; 9:16 portrait (1080×1920) for vertical screens
- Slide timings: Set fixed durations of 7-12 seconds per slide for readability at 4-6 meter viewing distances
- Looping: Configure your media player or TV to repeat the MP4 automatically (VLC: enable Loop checkbox)
Best-Practice Design Tips for PowerPoint-to-Video Content
When your visuals will play on screens viewed from several meters away, design differently than you would for a conference room presentation by following PowerPoint digital signage best practices.
- Keep text large: 40-60 pt fonts for key messages ensure readability at distance.
- Use high-contrast color combinations: white text on navy, yellow on black—maintain 4.5:1 contrast ratio.
- Limit complex animations: simple fades and wipes render reliably and look professional.
- Maintain consistent branding: logo placement, brand colors, and fonts should match across all slides.
- Check safe margins: keep critical information 10% away from edges to avoid overscan issues on consumer TVs.
- Test before launch: play the MP4 on your actual target screen or player before going live.
Common Challenges and Solutions
Converting a PowerPoint presentation to a video can sometimes present a few hurdles, but most are easy to overcome with the right approach.
Animation and Transition Issues
One common issue is the loss of animations or transitions in the final video. To avoid this, make sure you’re using a video converter or export feature that fully supports PowerPoint’s animations and transitions. Always test your final video to confirm that all effects appear as intended.
Large File Size
Large file size is another frequent challenge, especially when exporting high quality videos. If your final video is too large to share or upload, try lowering the video quality setting or use a video editing tool to compress the file without sacrificing too much quality.
Audio and Narration Problems
Audio and narration problems can also arise if recorded timings and narrations aren’t set up correctly in your PowerPoint presentation. Double-check that your audio files are embedded and that you’ve selected “Use Recorded Timings and Narrations” during export.
File Format Compatibility
Finally, be mindful of the file format you choose. Some devices or platforms may not support certain video formats, so always verify compatibility before sharing your final video.
By anticipating these challenges and applying these solutions, you’ll ensure your video PowerPoint exports are smooth, high quality, and ready for any audience.
Distributing Your PowerPoint Video Manually
Once you’ve created your high quality videos, you have several distribution options:
- USB stick: Copy the MP4 to a FAT32-formatted drive and plug into any TV with USB playback.
- Email or cloud: Share via OneDrive, SharePoint, Google Drive, or attach directly (watch file size limits).
- Video platforms: Simply upload to YouTube, Vimeo, or LinkedIn for public campaigns or training content.
- Download links: Generate shareable links for your audience to watch or download.
File size averages about 100MB per minute at 1080p. If bandwidth or storage is limited, export at 720p to reduce size by roughly 60%.
Manual distribution works fine for a handful of screens or occasional updates. But when you’re managing 10, 50, or 100+ displays, it quickly becomes unsustainable, which is where publishing PowerPoint presentations to a TV easily via a cloud platform becomes more practical.
Video Editing Software: Taking Your PowerPoint Video Further
Once you’ve exported your PowerPoint presentation as a video file, you can elevate your video presentation even more with video editing software. These tools let you add background music, captions, or voiceovers to enhance your message and engage your audience.
With a video editor, you can simply upload your exported video file and make additional edits—such as trimming unwanted sections, merging multiple clips, or adjusting color and brightness for a more polished look.
Adding captions or subtitles can make your content more accessible, while background music can set the right tone for your presentation.
Popular video editing software options include Adobe Premiere, Final Cut Pro, and DaVinci Resolve. Choose a tool that matches your experience level and project needs, and make sure it supports your preferred file format, such as MP4 or WMV.
After editing, export your final video in the desired format and resolution, ready to share with your audience or upload to your chosen platform. With the right video editing software, your PowerPoint video can stand out as a professional, high-impact presentation.
From Manual Videos to Automated Signage: Our Cloud Solution
Once you’re comfortable using PowerPoint as your video creation tool, the next step is eliminating the manual work entirely and exploring PowerPoint digital signage workflows for running slides on screens.
Our signage cloud platform lets you upload content once and schedule it centrally across all your screens, similar to other cloud-based digital signage solutions. No more copying files to USB sticks. No more walking to each display to make updates.
What Our Platform Handles Automatically
- Rendering and optimization for different screen resolutions
- Playlist management and scheduling
- Day-parting (different content for morning vs. evening)
- Remote updates across multiple locations simultaneously
- Real-time monitoring and playback control
PowerPoint remains your content creation tool. Our cloud becomes your distribution and automation layer, with flexible digital signage plans in the cloud to match different deployment needs.
If you’re running recurring campaigns across multiple screens and want a “no manual work” setup, explore our signage cloud solution or contact the SignageTube team or request a demo.
FAQ: PowerPoint as Video for Everyday Use
Can I loop my PowerPoint video?
Yes. Most media players and smart TVs have a repeat or loop setting. In VLC, simply enable the Loop checkbox. Many TVs with USB playback will auto-repeat a single video file. Viewers do not need to have PowerPoint installed on their computers to watch the video.
Which video quality is best for a 4K TV?
Export at Ultra HD (3840×2160) if your content will display on large LED walls or 4K screens. You can choose the video quality and resolution when exporting your PowerPoint presentation as a video. Confirm your TV supports HDMI 2.0 for full resolution playback.
Can I edit the video after export?
The exported MP4 is a different version of your presentation and cannot be edited like a pptx file. For changes, edit the original PowerPoint presentation and re-export. You can include animations and transitions in your video presentation. This is faster than using a dedicated video converter or video tool for simple text or image updates.
How long can the video be?
Practically, videos can run several hours, though file size becomes a factor. A 1-hour 1080p video can exceed 6GB. Most signage loops run 2-10 minutes. The final video may take a long time to create depending on the length and complexity of the presentation.
Is audio exported?
Yes. Recorded narrations, embedded audio files, and background music all export into the final video. You can record and time voice narration in your video presentation. Ensure microphone quality is good for professional results.
How do I change slide timings without re-recording?
Use Rehearse Timings (Slide Show tab) to set new durations without recording audio. Then export using the updated recorded timings from your ppt.
What if I need to update a product price?
Edit the original pptx, change the price, and convert ppt by re-exporting. For frequent updates across many screens, our cloud solution lets you push changes instantly without manual file transfers.